Workshop | Nikon D810 repair image

Workshop | Nikon D810 repair

Have you ever wondered what’s involved in replacing the front body on a DSLR?

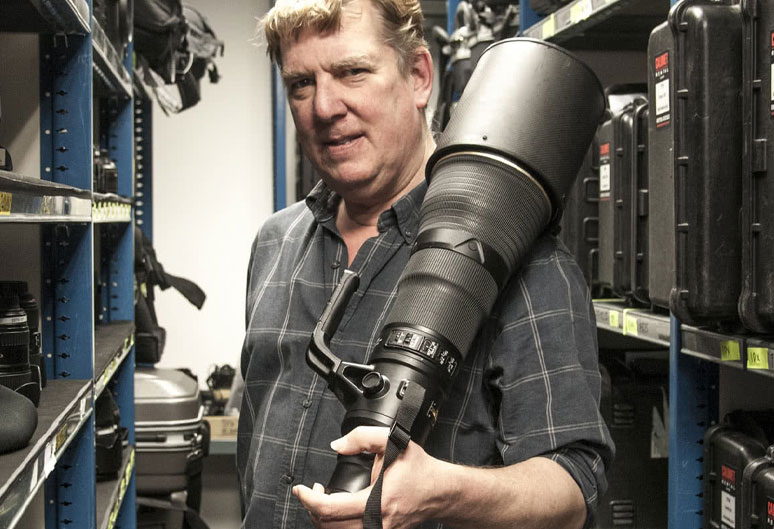
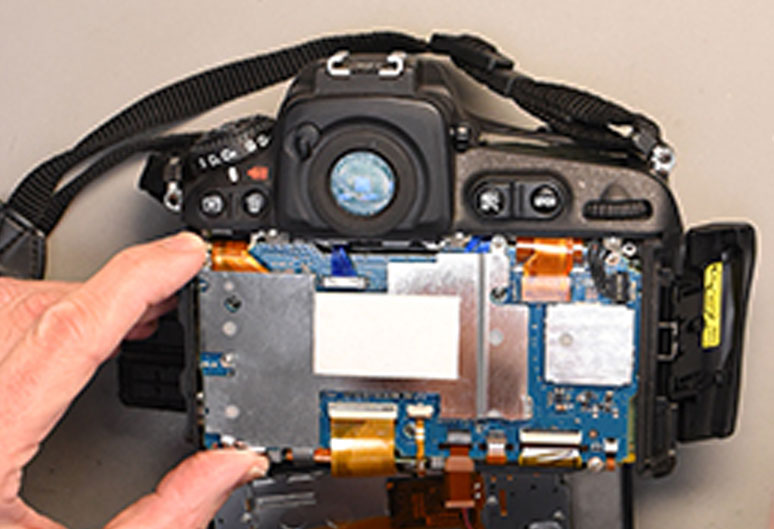
Chris, one of our experienced Nikon technicians, spends his time working on pro and semi-pro bodies and lenses. This D810 landed on his desk recently and Chris was kind enough to let us bolt a camera to his desk so we could film him in action.

The video shows the disassembly of the camera, fitting the replacement part and re-assembly. Following this, the camera would have been cleaned, calibrated and given a sensor clean.


Music courtesy of www.bensound.com/royalty-free-music


Tips & Tricks | Camera maintenance image

Tips & Tricks | Camera maintenance

For over 30 years we have been providing professional photographers with an unrivalled service facility from our London workshop. Our large team of dedicated technicians have been professionally trained with many of them repairing cameras since the days of film. We’re keen to share our nuggets of information, gleaned through years of servicing top brand equipment and in this article we’ll focus specifically on looking after your camera’s sensor.

Sensor care

The sensor on your digital camera is arguably the most necessary, the most fragile and the most expensive component, and should therefore be looked after with care.

As we’re all painfully aware, dust is the bane of all digital photographers and it seems that no matter how careful you are when changing lenses, dust will creep in while you’re least expecting it.

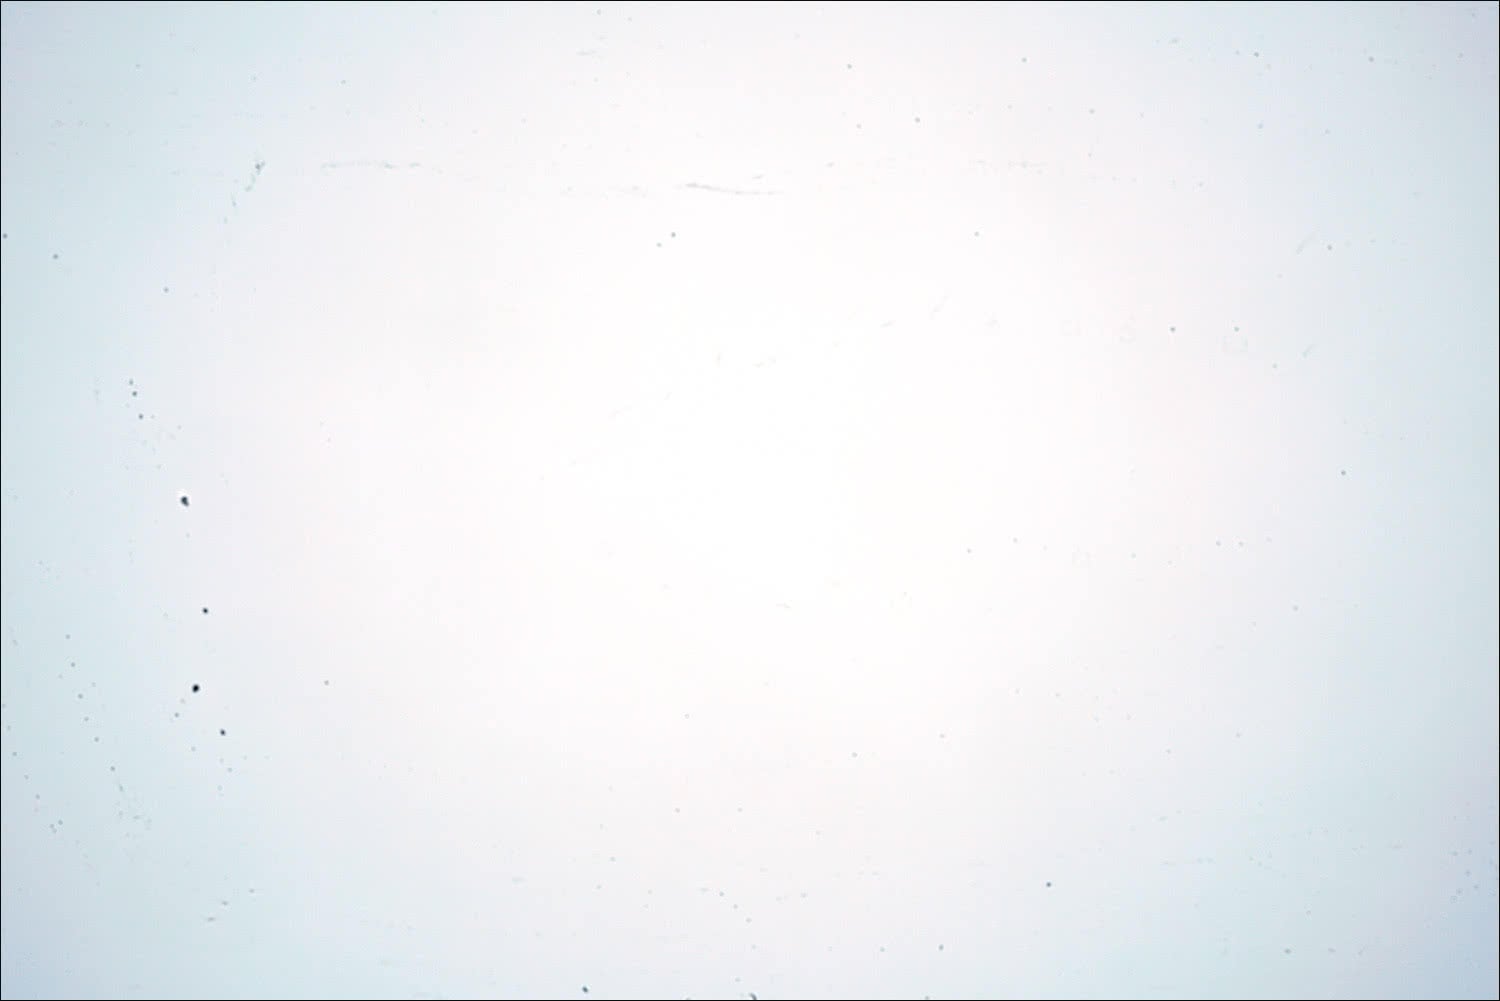
In many cases, these dust marks are hidden by busy backgrounds and detail, but a good way to check is to photograph a white sheet of paper or a clear blue sky. Shoot using a mid to small aperture and even better if the shot is out of focus; you’re trying to capture the dust on the actual sensor, so a lack of detail in the image will actually help.

Dusty sensor result from a Sony A7R IIA shot from a Sony A7R II, clearly showing a hefty build up of dust

Professional sensor cleaning is just one of the services we offer at our London workshop (and Manchester and Leeds service counters), and although we don’t actively discourage photographers from cleaning their own sensors, we do see a lot of cameras that have suffered from less than perfect DIY efforts. And replacement sensors don’t come cheap.

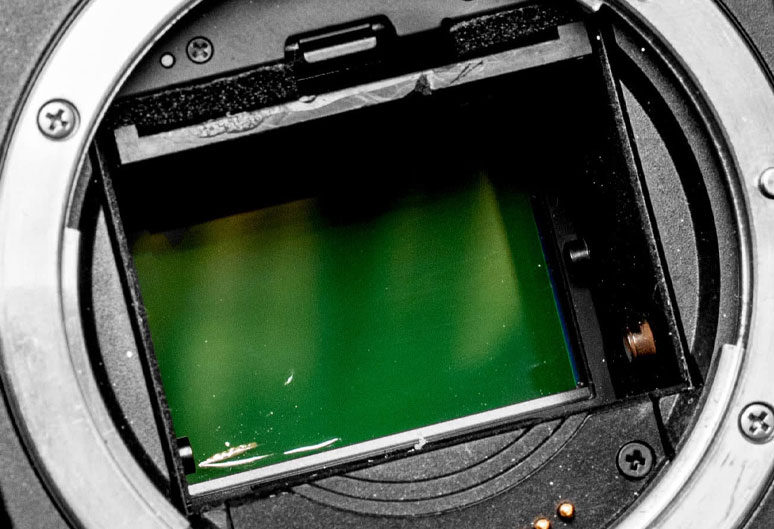
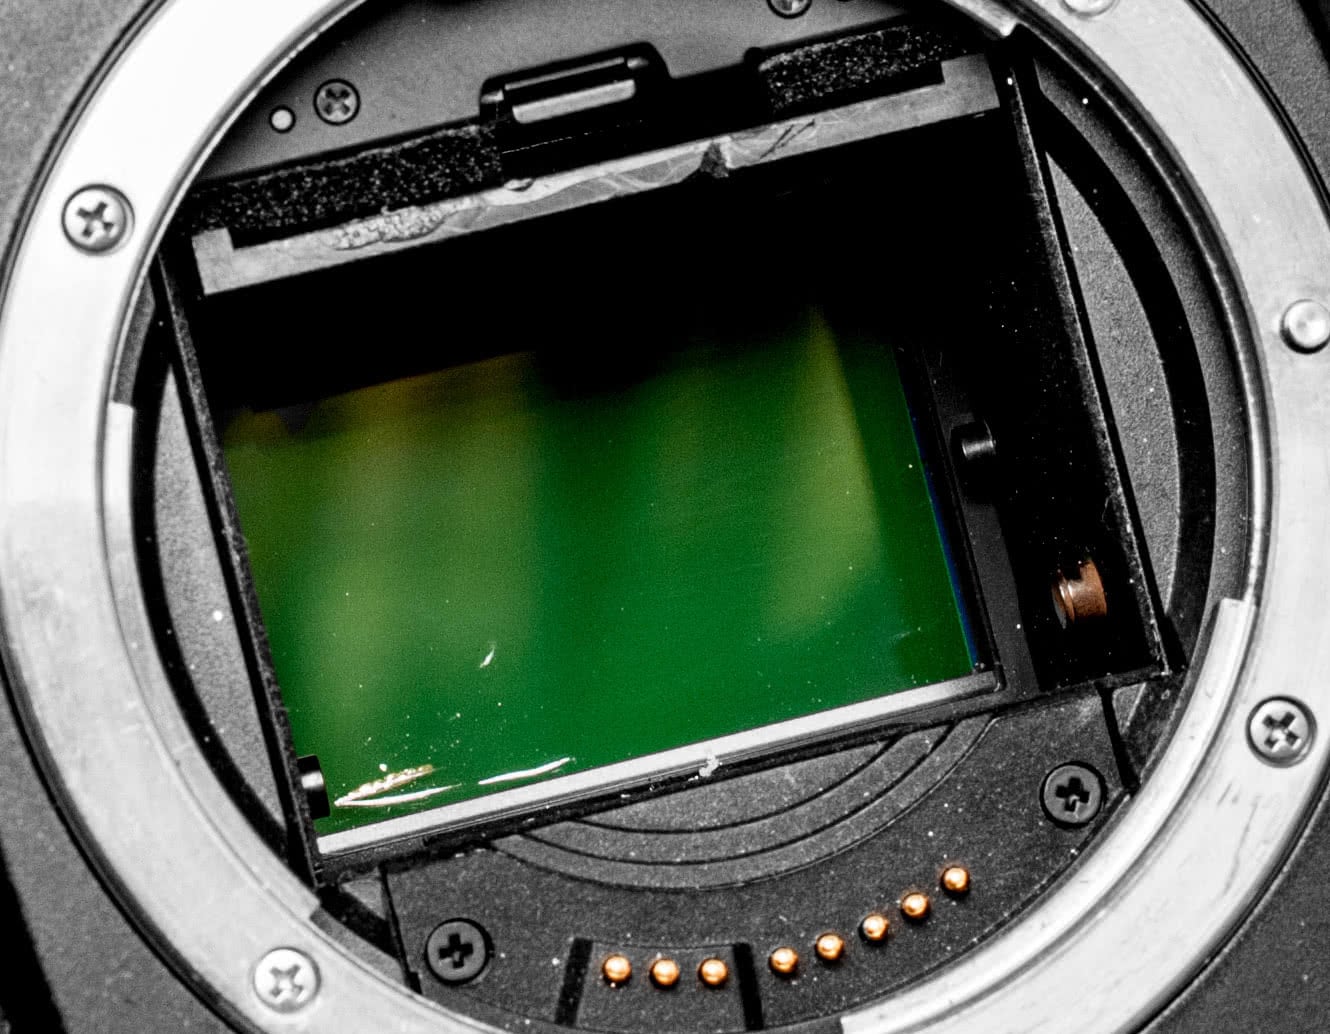
A scratched sensor on a Canon EOS 5DAn actual repair that arrived in our workshop recently | Canon EOS 5D with a clearly scratched sensor

We’re not trying to scare anyone off here, but we offer a professional sensor cleaning service that in many cases can be turned around in less than a day. Our team of technicians have had many years experience and can guarantee a thorough result.

If you are going to try and clean your sensor at home, please bear in mind the following precautions.


Compressed air

Under NO circumstances should you use compressed air on the sensor. It’s perfect for blowing dust off the exterior of your camera and lenses (although be careful near the glass), but pointing it near a sensor is asking for trouble.

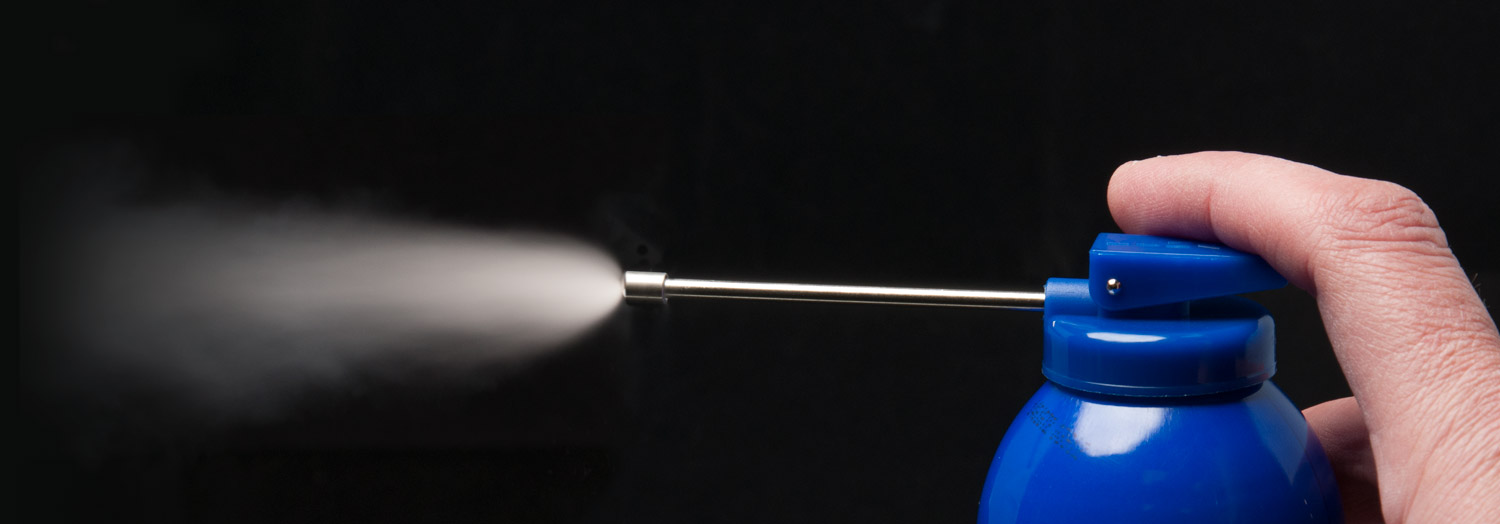
A good reason why you should never use compressed air to clean a camera sensorA good reason why you should never use compressed air to clean a camera sensor. To get this shot, we tilted the can slightly, depressed the trigger and then expelled some more air with the can completely upright!

If the can is tilted even slightly – especially when full – propellant will be expelled and will land on your delicate sensor. Removing this gunk is not a task for the faint-hearted… We’ve even seen a case where the end of the nozzle was loose and actually hit the sensor with such force that it cracked the surface!


Dust prevention

There are some basic rules you can follow that will go some way to avoiding dust for as long as possible:

  • Always change lenses with the camera pointing down. Any larger pieces of dust that have collected in the mirror box should follow the rules of gravity and not end up on the sensor. It’s not a guaranteed solution but it will certainly help.
  • Make sure the rear elements of your lenses are free from dust. If any lens that you mount has dust on the rear element, you’re simply asking for it to end up on the sensor. The same rule applies to camera body caps.
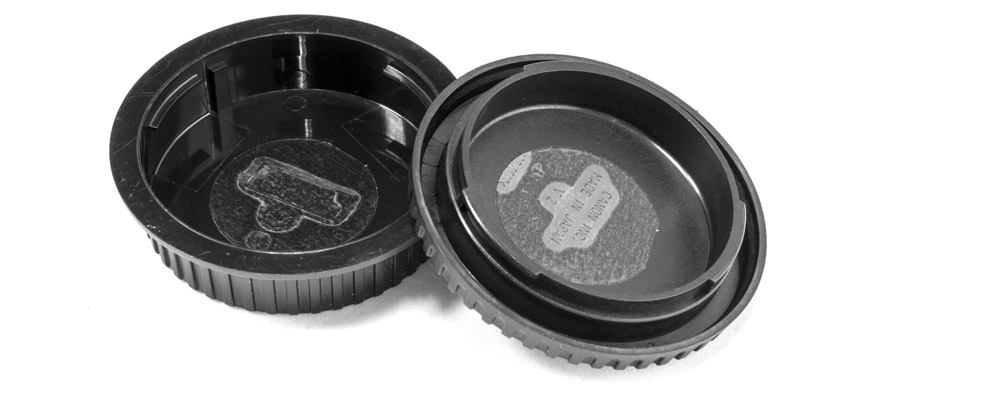
  • Attach a double-sided sticky tab on the inside of your body cap and rear lens cap. If any large pieces of errant dust are floating around on the back of your lens, or in the mirror box, they will stick to the tab and not the sensor. We sell low-tack tabs, sourced specifically for this purpose, at just £5 for 10. They’re easy to apply and simple enough to remove when the stickiness has exhausted.

Sticky tabs on the inside of body and lens caps will help attract unwanted dust.Sticky tabs on the inside of body and lens caps will help keep unwanted dust off the sensor

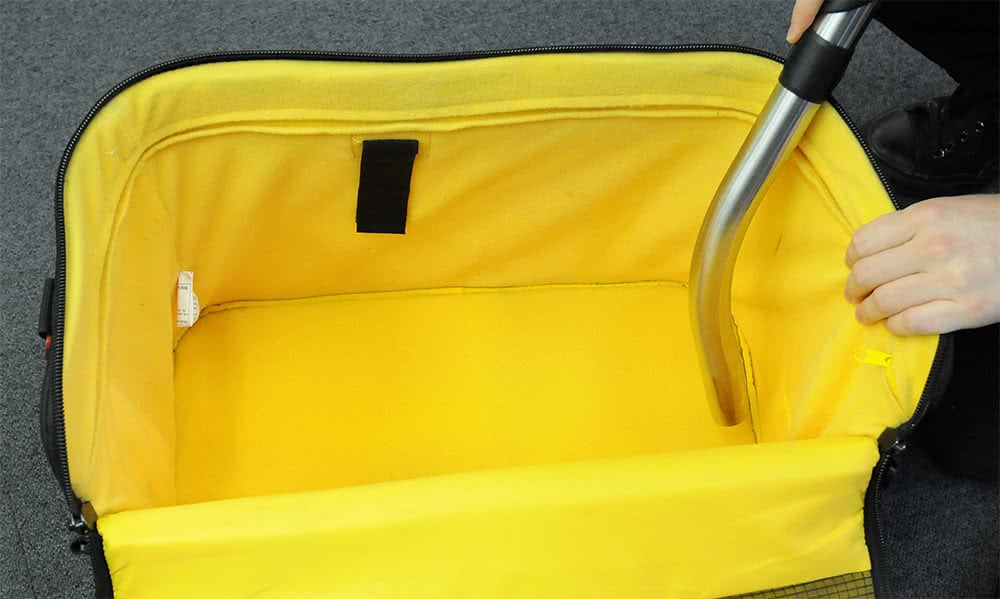
  • Vacuum your camera bag. It may seem obvious but a dirty camera bag can have a knock-on effect with dust issues. A bit of housework every couple of months can make a huge difference to keeping your kit spotless.

A clean camera bag will help reduce dust collecting on your lenses and sensorA clean camera bag will help reduce dust collecting on your lenses and sensor

If you have any questions regarding sensor cleaning, or indeed any other repair related questions, speak to a member of our admin team on 020 7582 3294 or email admin@fixationuk.com

ProFiles | Neil Emmerson images

ProFiles | Neil Emmerson

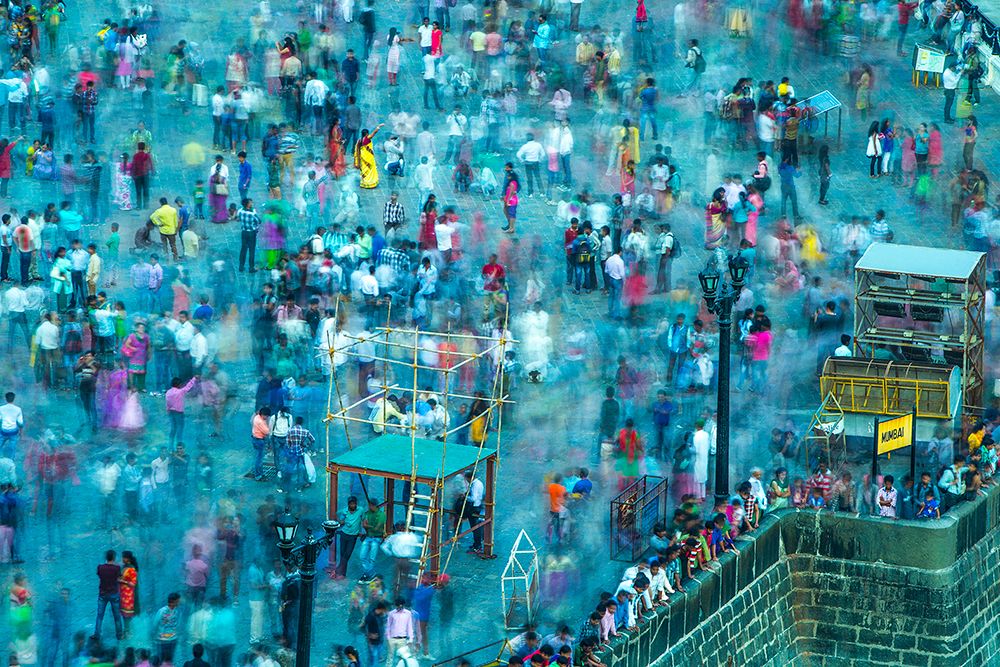
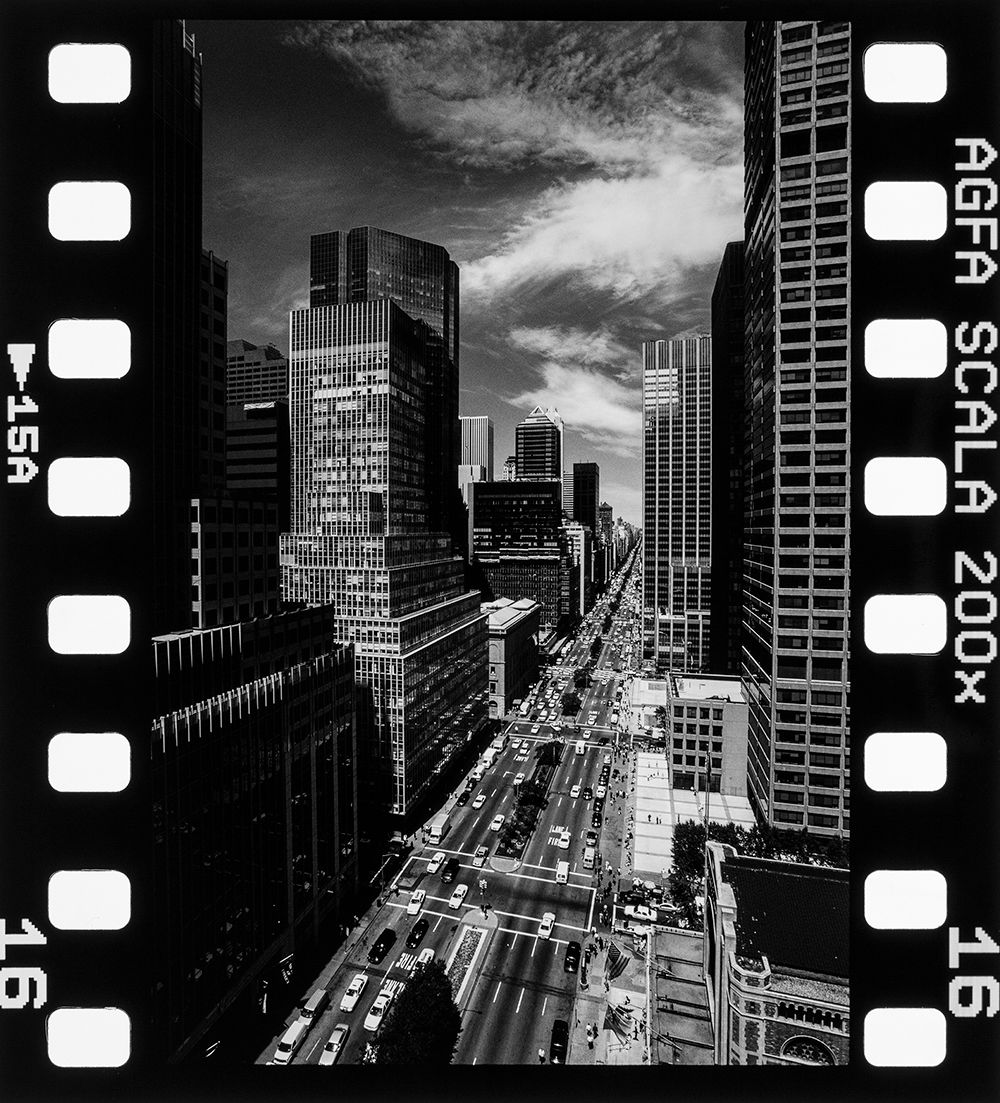
Neil Emmerson, aka The Travelling Photographer, has photographed just about every major city in the world during his 30 year career.

He began in Australia, shooting yachts in the Whitsunday Islands (“It was the furthest place I could get to from here..”), before taking a job with Scandinavian Airlines, living in Oslo and photographing new routes and images for their Leisure Brand. A spell with Emirates followed – a similar role to Scandinavian, but covering the entire globe.

© Neil Emmerson© Neil Emmerson

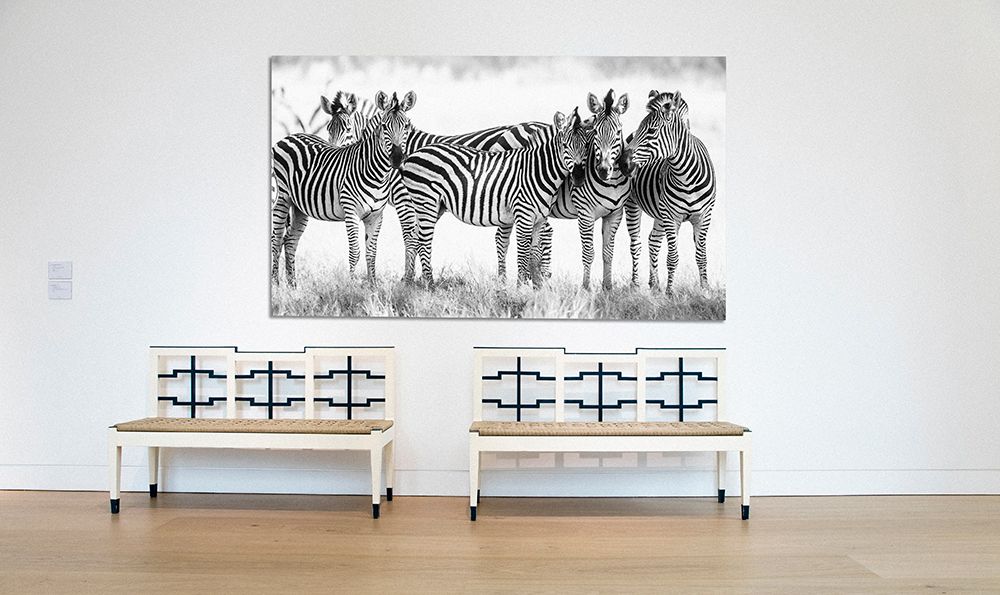
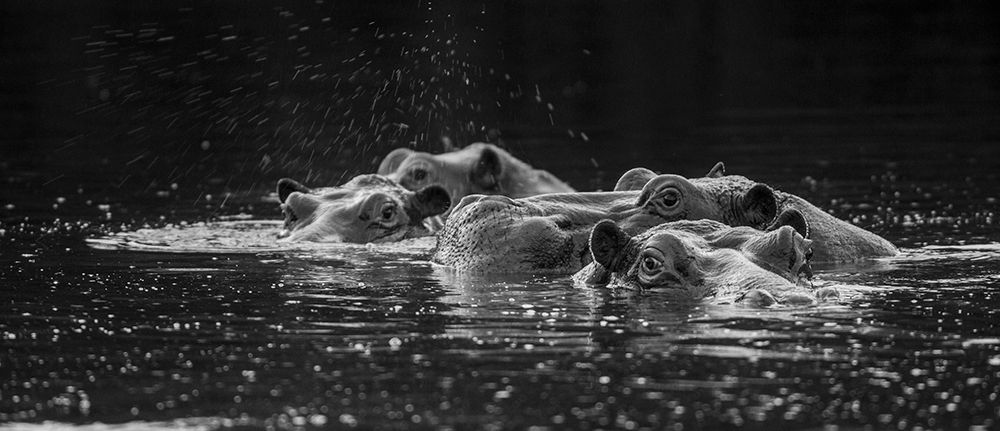
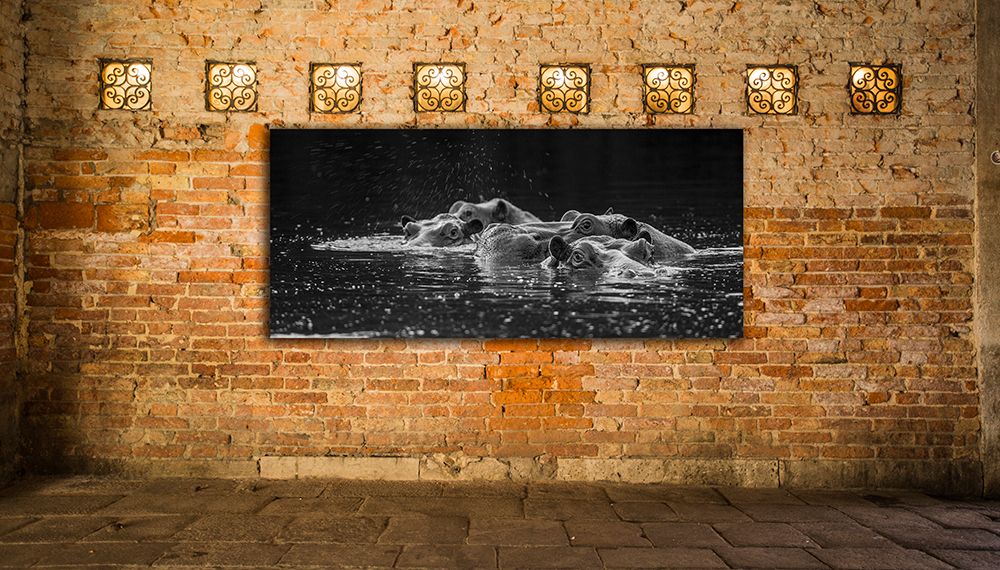
5 years ago Neil set up Art For Big Spaces (www.artforbigspaces.com) – a website offering, as the name suggests, large fine art prints, beautifully printed and mounted.  I caught up with Neil in his Mayfair studio recently as he reflected on his years of travelling.

Going back to your airline work, how did you approach these commissions? I imagine it can be quite daunting to arrive in a capital city with an open brief?

I would do my homework thoroughly and spend a lot of time looking at existing images that other photographers had shot, but I’d always try to be a bit different in my approach and the airlines seemed to like what I gave them. I would also get inspiration from paintings; for example, I would look at Canaletto’s work and shoot the scenes that he depicted in his works. I wasn’t trying to copy his paintings, but I figured if it was good enough for a grand master, it was good enough for the airlines!

© Neil Emmerson© Neil Emmerson

You must have shot a lot of film on these assignments. Roughly how much stock would you take on a trip?

I would take around 200 rolls each time I flew, and I’d sometimes have to pick up fresh supplies while I was shooting. I’m a prolific shooter and I soon found that only around 5% of what was edited fulfilled the requirements from the airline and the rest wasn’t needed. So I edited this massive amount of work that I’d shot in all these locations, and filed it away in plastic boxes that I labelled with the place and year, and filed these boxes away in a dry cupboard where they grew and grew.

© Neil Emmerson© Neil Emmerson

It sounds glamorous, jetting around the world to these exotic locations, but I imagine it lost its sparkle over time?

Yes and no. I still enjoyed what I was doing but the travelling was very tiring. I was averaging around 75 long haul flights a year over a ten year period, and in fact, I was chatting to a flight crew once and they couldn’t believe the amount of time I was spending in the air. Apparently the radiation levels I was exposing myself to were not that healthy! What ultimately made me decide to move on was as a result of a trip to Thailand. I was trying to get a flight from Bangkok to Ko Samui but there was a storm and I couldn’t get on a plane. I thought of getting a flight to Surat Thani and from there catch another flight to Ko Samui, but eventually I managed to get a direct flight from Bangkok that afternoon. When I arrived in Ko Samui, I got to the hotel and learned that the Surat Thani flight had crashed as it was trying to land. That was the turning point for me and I thought enough is enough.

© Neil Emmerson© Neil Emmerson

That’s an understandable reaction and a pretty sobering thought. Did you have any ideas as to what you could do instead?

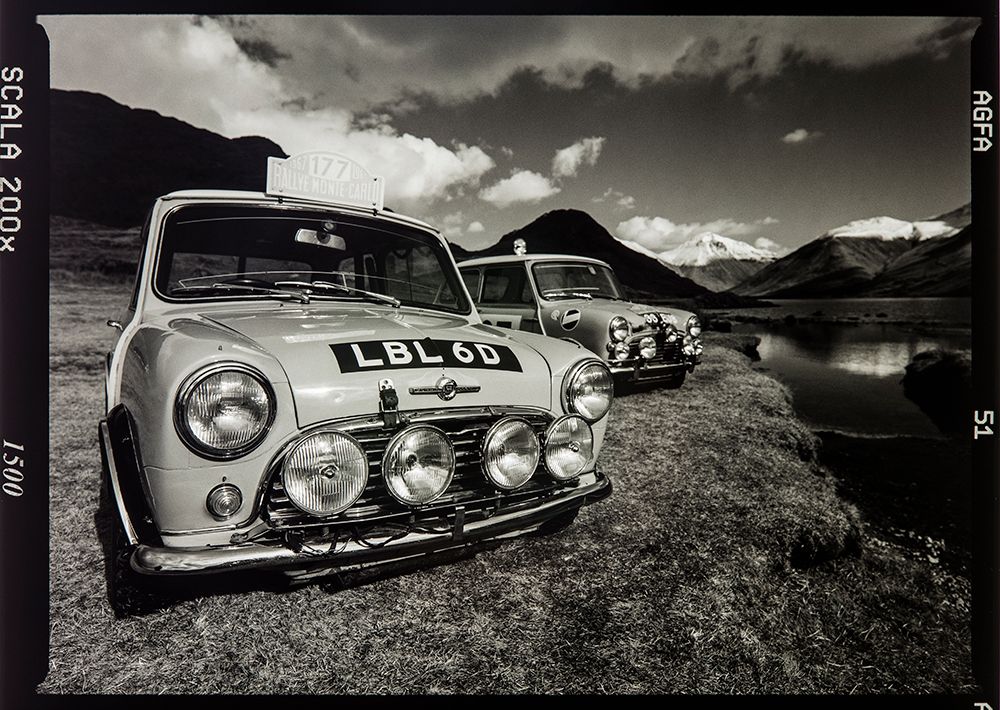
I’d already been speaking to MG Rover about the final Mini that was to be produced that year. I’d always had a soft spot for the Mini, and had fond memories of a family holiday driving to Italy in a Mini Traveller when I was a toddler. Rover wanted to celebrate the final year of production for the car but told me that had no budget for the project. I’d been used to airline company budgets for years and had absolutely no idea about budgets in the automobile industry, and as it turned out, ‘no budget’ was actually a lot of money! I worked for a year on the project and that then led to working with Land Rover and Harley Davidson.

© Neil Emmerson© Neil Emmerson

So more travelling again?!

Yes, certainly with Harley Davidson. The assignments were not so much about the actual bikes, but more of the lifestyle and culture associated with the brand, so I spent a lot of time in Western USA, working in the desert. And of course, working in all these locations meant that I was still shooting way more stock than was required for the assignments, so I continued filling my plastic boxes with surplus images. At that time I still had a few travel related clients that were sending me round the world and that too helped fill the boxes.

© Neil Emmerson© Neil Emmerson

Do you still shoot commissions or have you hung up your passport?

I suppose about 5 years ago I decided I’d had enough of all the travelling and the cupboard full of boxes was nagging away at the back of my mind, so I decided to see if I could really do something special with the thousands of images I’d collected over the years. Everything had been shot on film and I’d been careful to throw out anything that wasn’t up to scratch, so I had this idea to produce large prints and see if I could sell them.

© Neil Emmerson© Neil Emmerson

That was the birth of ‘Art For Big Spaces’?

Yes. I sold a few initially and through word of mouth I began to sell more and more and I’m now at the point where it’s essentially taken over what I do. It’s funny that what began as an aside to the commissioned work I was shooting, has now become my main business.

I do still travel but it’s now for my pleasure and to shoot specifically for new artworks. When I was working for the airlines, I was fortunate to visit some truly incredible places, but I’d often have only a couple of hours to shoot before having to move on. I mentally bookmarked quite a few locations and I’m now in a position to re-visit and stay for a week at a time, really getting a feel for the places and having the luxury of shooting what I want, when I want.

© Neil Emmerson© Neil Emmerson

© Neil Emmerson© Neil Emmerson

© Neil Emmerson© Neil Emmerson

© Neil Emmerson© Neil Emmerson


To see more of Neil’s work, visit www.artforbigspaces.com and his personal website www.neilemmerson.com

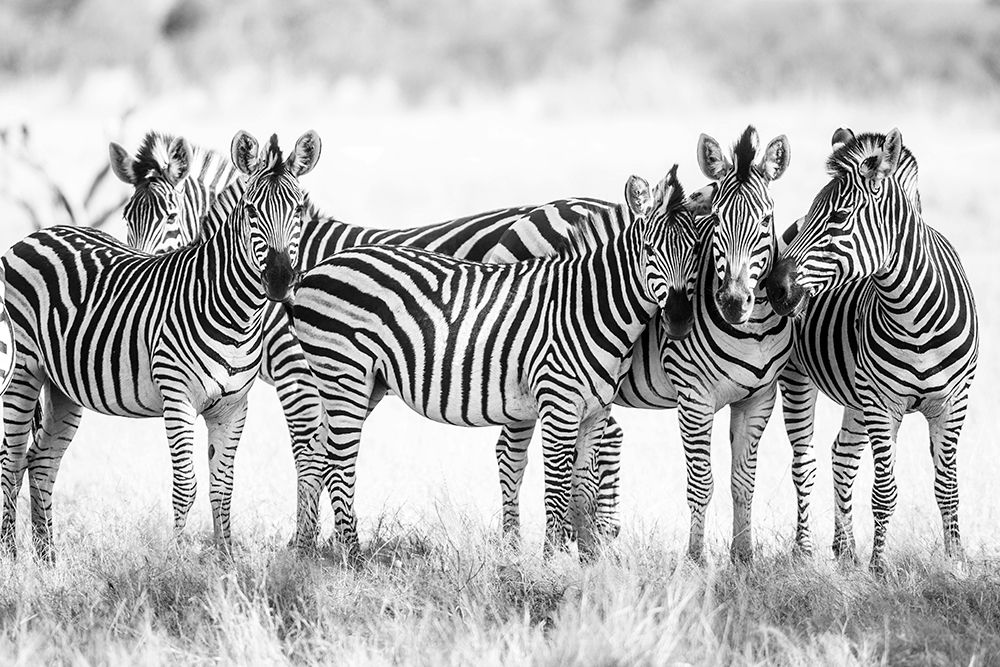
From 5th January, the Café in Shepherd Market, Mayfair is holding an exhibition of Neil’s collection With The Elephants, shot in Zimbabwe & Zambia in 2017.


Neil was talking to Tim Stavrinou

NIKON D850 | LOVE AT LAST image

Nikon D850 | Love at last?

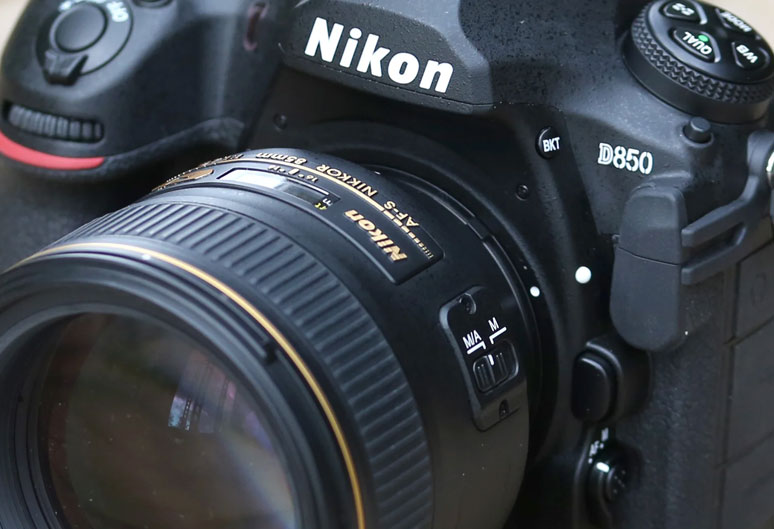
Longtime Nikon user Holly Wren pitches the Nikon D850 against her trusted D800.

The announcement of a new camera gives rise to a wave of excitement in me, in a flurry of geeky activity I am researching for leaks and specs.

So when I heard about the D850, I reached a new level of excitement; my heart may have even skipped a beat. Could this be the one?

As a portrait and lifestyle photographer I’ve struggled for a few years with which Nikon I want to use. I started way back 6 years ago with the D800, then added a D4.

The D4 is an excellent camera; I bought it for the ISO capabilities and it didn’t disappoint. But for my use (and for my osteopath), it was too heavy and the resolution wasn’t quite what my clients demanded. It had astonishingly great shutter speeds, amazing focusing and is durable but sadly it spent most of it’s life on the sidelines, as I chose my D800 over and over again.

Although, getting into a fully committed relationship with my D800 proved impossible when I found a few issues with focusing – an area that the D4 beat it hands down. The arrival of the D810 was beacon of light and although there were some improvements, I just couldn’t see enough of a difference between that and my D800. So I held fast, waiting for a game changer.

The announcement of the D5 had me tempted, but as my much as I knew how insanely good this camera would be, it didn’t tick all my boxes. My one true wish therefore, was that the D5 and D810 would spawn a love child. And luckily for me, they did. It’s called the D850.

D850 + 50mm ƒ/1.4G 1/800 @ ƒ/4.0 ISO 2000 | © Holly WrenD850 + 50mm ƒ/1.4G 1/800 @ ƒ/4.0 ISO 2000 | © Holly Wren

I’ve had this camera since it’s launch, so have had the opportunity to use it a fair few times. I won’t give you a run down of tech specs – although if you want them, you can find them here. I want to tell you why I, a commercial portrait photographer, have started a love affair with the D850.

Firstly, high resolution. A 45.7 MP sensor is no laughing matter – certainly not for your bank manager when he sees the add on costs of shooting on a camera with these capabilities. Yesterday I spanked £239 on an XQD card, then I threw up. Unless you’re a rich amateur, this camera is not for the faint hearted.

But if you have the clients, and the deep pockets, this camera won’t disappoint. The image quality feels distinctly “medium format” and looking at my images, they took a little getting used to. Gone is the softness, this is all about detail, which arguably for portraiture, can sometimes be too much. Remember that bad skin you wanted to hide? No more. But if you can get through that, the camera delivers the ability to create outstanding portraits, with impeccable detail which can be printed large format. I personally love this look, and I’m never worried I can’t deliver large files.

But a word of warning, a large sensor means everything shows, and in order to keep camera shake or blur out of your images you’ll need to compensate with high shutter speeds – I’ve figured out that even 1/250 second may be a little risky….

D850 + 50mm ƒ/1.4G 1/125 @ ƒ/3.5 ISO 1250 | © Holly Wren

Autofocusing – this is the biggest correction point for me. My struggle with the D800 and subsequently the D810 is that, on certain lenses there have, at times, been autofocus issues. The D850, in my testing thus far, hasn’t failed me once. Probably thanks to the fact it’s been blessed with full AF capabilities of Nikon’s flagship sports camera the D5 (which is arguably one of the best AF systems out there).

Of course, I’d always recommend that you calibrate your prime lenses for optimal performance, but knowing you have the AF hardware capabilities of the D5 is a mega helping hand. In my experience, it still struggles a little in lower light, but what camera doesn’t?

ISO capabilities – the official line is that you can shoot from ISO 64 to 25,660 standard (ISO 32 – 102,400 extended). Now let’s be honest, that sounds impressive but mainly it’s completely irrelevant. What I care about is how far can I push it with zero recognition.

I like to balance light, the UK weather demands I use flash, but I love ambient and natural light, and a large part of that relies on my ability to push the ISO. Push it but most importantly, not see it. I don’t like noise, I don’t want grain. And the D850’s improved ISO abilities, this is no problem. I can get to around ISO 5,000 without seeing too much, on my D810 I don’t go beyond 3,200, so I have a few extra points to award here for that improvement.

And they are my 3 key reasons I love the D850, but there are a few more I’d like to sweep up that have impressed and pleased me about this camera, those tweaks that were necessary and timely, but do warm my heart on a cold day.

The new backscreen, larger and brighter its now a touchscreen back, which for added enjoyment and ease also tilts. Battery life is also greatly improved, beyond recognition in fact – it now feels more comparable to that of the D4.

D850 + 50mm ƒ/1.4G 1/160 @ ƒ/4.0 ISO 1600 | © Holly Wren

And finally, but most importantly, Nikon have ditched the pop up (should I call it compact?) flash – thank the lord. No more looking like an amateur, catching the flip up when using my TTL trigger and most astonishingly, bashing myself in the face. Thank you Nikon. You heroes.

There are rave reviews everywhere about the D850, so I am in no doubt that technically it outperforms it’s predecessors, so I’m happy to announce that, in my experience the reality does not disappoint.

In conclusion, do buy it if:

  • You want a “medium format” feel / shoot for large format printing
  • Want D5 performance Auto focusing
  • Need to push to high ISO’s
  • Want a noticeable upgrade to your D800 or D810
  • You’re sick of bashing your face on a pop up flash

Don’t buy it if

  • You expect the wifi file transferring to work perfectly (aka SnapBridge)
  • You don’t have money to burn on cards and hard drives
  • You shoot anything fast moving and are likely to work on low shutter speeds
  • You want to disguise detail not add it

All in all, this camera has me excited. At last, my problems are solved – I have a camera that I can fall truly, in love with. And I feel like the D850 and I have a real shot at living happily ever after…. (well at least until they D860 struts into my life!)

The Nikon D850 retails at £3,449 but you’ll have to put your name on the list, they’re still few and far between!

Tips & Tricks | Resetting your camera image

Tips & Tricks | Resetting your camera

Our workshop receives quite a few cameras for repair that don’t actually have anything wrong with them! More often than not, users have inadvertently set custom functions on their DSLRs that disable operations such as AF and shutter release from working correctly.

Of course, if your camera is behaving erratically, it may well have a genuine fault, but it’s definitely worth wiping any custom settings before you send it in to us.

If you’ve been following our Tips & Tricks series, you’ll have seen a post recently that described a simple way of backing up and restoring your camera settings on a spare memory card. This is, of course, a great way of getting your DSLR up & running after a full reset, but make sure you’re backing up and restoring a fully ‘working’ set of parameters!

Fortunately, resetting the camera settings back to a factory standard is a fairly straightforward process.


Nikon

On many Nikon DSLRs, there is handy shortcut accessible from a couple of exterior buttons that are marked with a small green dot. Pressing these two buttons simultaneously for a second or so will reset many of the camera settings back to factory standards. The position of these buttons does vary from model to model though:


D5
The [DRIVE] & [WB] buttons below the smaller rear LCD.

D4, D4s
The [ISO] & [WB] buttons below the smaller rear LCD.

D850, D810, D800 & D500
The [+/-] & [QUAL] buttons on the top.

D750, D610, D600
The [+/-] button on the top of the camera and the [ISO] button the rear.

What we tend to find is that any custom functions will not be reset using the above procedure and you’ll need to go into menu to wipe these. Again, it varies from camera to camera!

On the high-end Nikons (D800 and above), you’ll need to reset the 4 Custom settings banks individually. Select the [A] bank and press the [DELETE] button. Repeat for [B,C & D] banks.

You’ll also need to reset the 4 shooting banks, following the same procedure as above.

The D750, D610 & D600 only have one custom settings bank so resetting is much easier, and again, only the one shooting bank.

Interestingly, the D5 & D4s seem to be the only cameras with a master reset option in the menu, but again, not all custom settings are cleared.


Canon

Canon users have it a bit easier when it comes to clearing errant settings. On the majority of professional grade bodies – certainly the 7D upwards – there are just two menu controls to access.

Activating these two options through the menu should return your Canon DSLR to its factory settings.


Sony

Sony users have it the easiest with the A7 & A9 cameras. A single menu option takes care of either wiping the camera settings, or performing a full factory reset and clearing absolutely every setting back to factory standard.

‘Camera Settings Reset’ will restore the standard shooting menu, whereas ‘Initialize’ will reset the entire camera back to factory standards. Unfortunately, Sony have not yet provided a facility for backing up and restoring settings, so be aware that you’ll have to sit down and go through every parameter, especially if you opted for the ‘Initialize’ option.

If anyone has any further suggestions for performing a camera reset, please feel free to share below.

Hi, how can we help?