Back in October 2015, Fixation was acquired by Wex Photo Video, the UK’s largest photo and video retailer, and since Wex’s 2017 merger with Calumet, that now extends to 13 well-stocked showrooms across the UK.
The merger also coincided with Calumet having to relocate their flagship London store from Drummond Street to its new location in Commercial Road, and a decision was made to move the Calumet rental department to Fixation’s workshop in South London and merge the two rental offerings to form Wex Rental.
Be assured – although the name has changed, the commitment to our customers hasn’t and we now boast a wider range of products for stills and videographers.
I caught up with Leonie Johnson, the Wex Rental manager to see how she and her team are settling in to their new premises, and to see what plans she has for Wex Rental going forward.
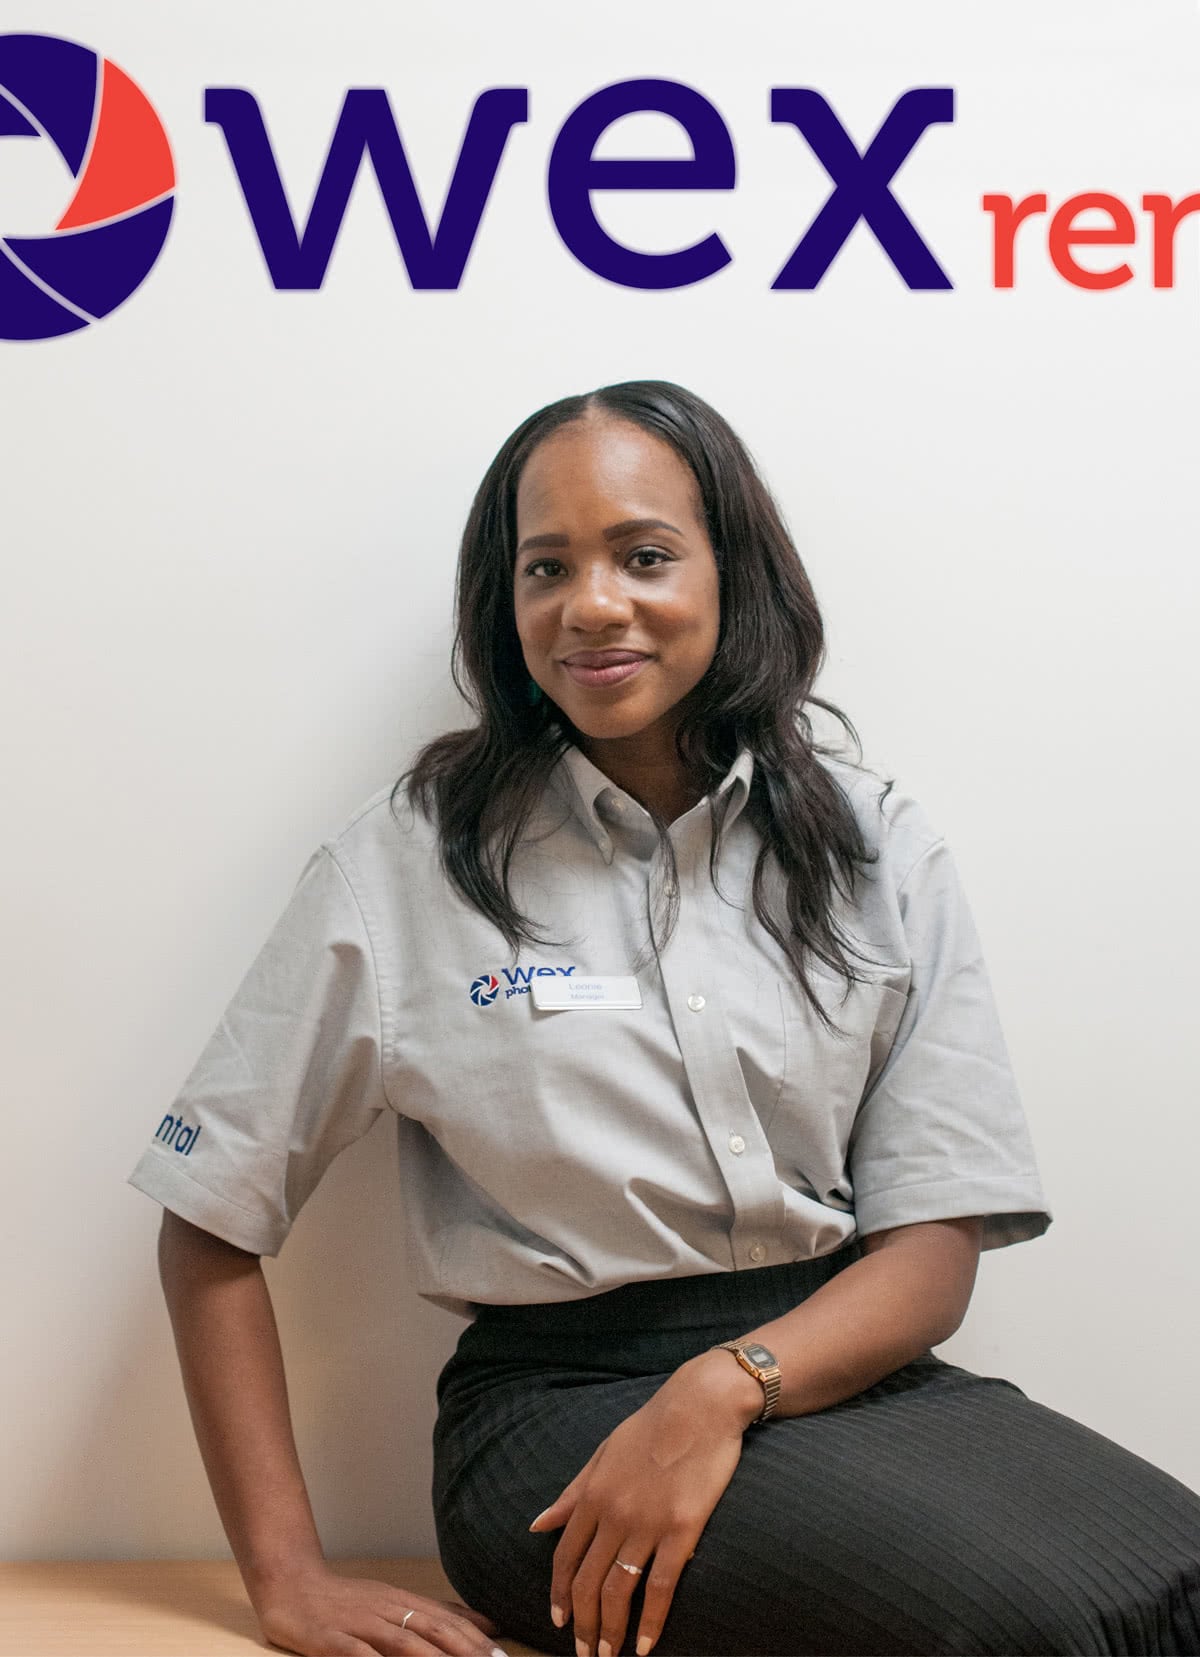 Leonie Johnson, Wex Rental manager oversees a team of eleven
Thanks for taking time out of your busy schedule – how are you settling in to the new location?
Moving to a new location was always going to be a challenge, having been established in Drummond Street for almost half a century! However, settling in to this part of London has been great. We’re seeing a number of new customers from south of the river join us and what’s also heartening is seeing our regular faces who have moved with us too, which is fantastic.
Moving has also given us the opportunity to expand our customer offer and we now have a click and collect point in our Wex Photo Video showroom in Commercial Road, enabling us to continue to serve our customer base who may not benefit logistically from where we now are.
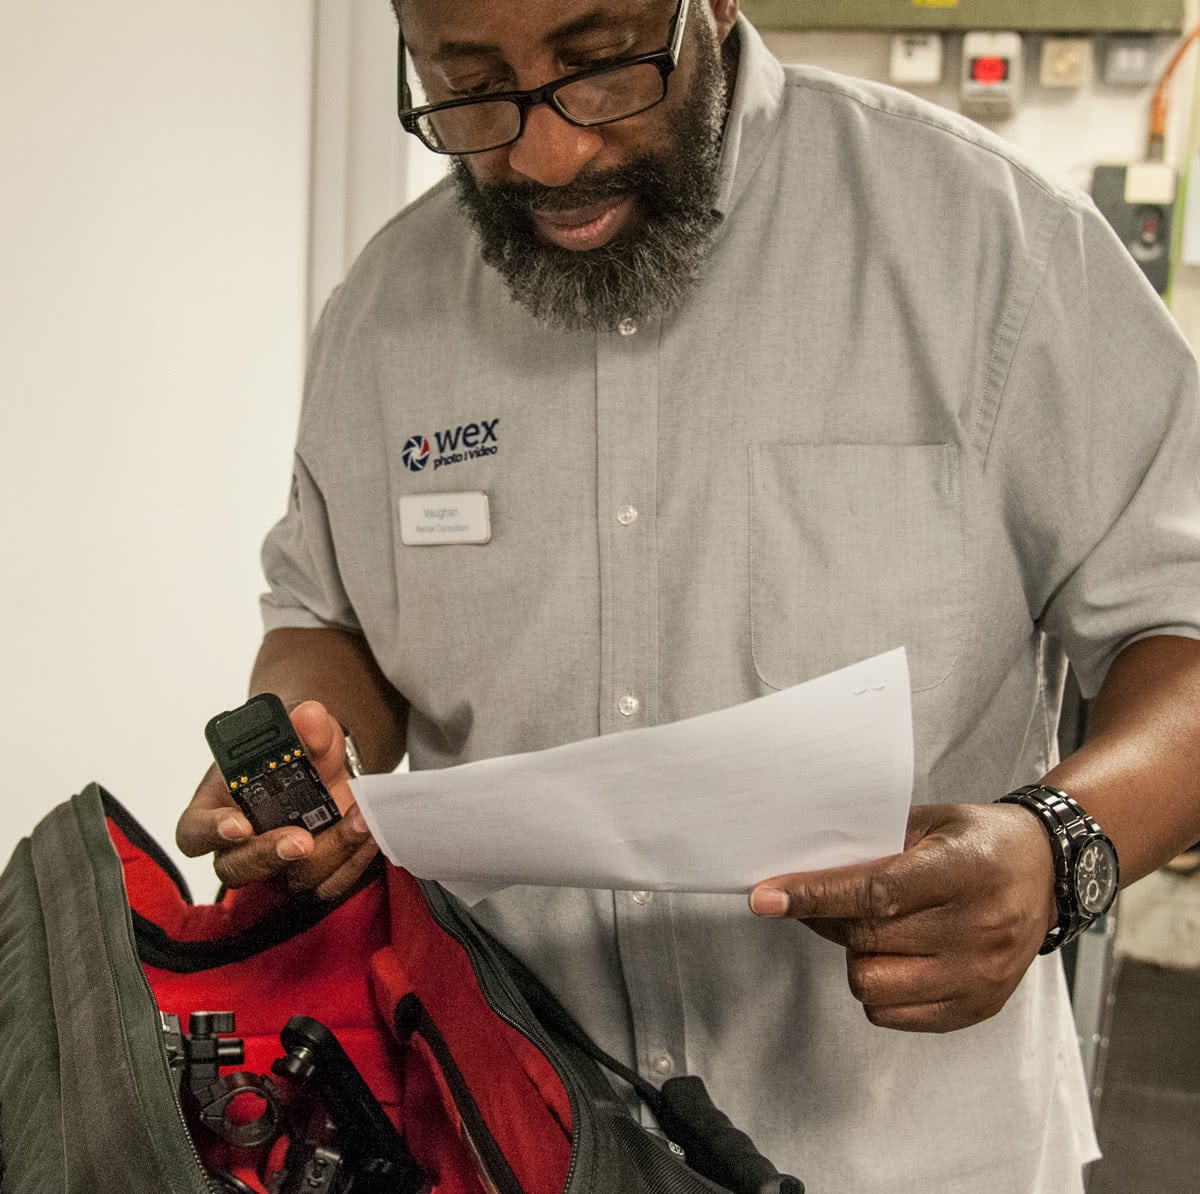
 Vaughan at Wex Rental helps a customer with an equipment query
Can you tell us a little bit about yourself; how did you get involved in photographic rental?
I took media studies at university and have worked in management for a variety of sectors, including finance, retail & facilities. I always think everything comes full circle in life, so when I got the call about this position, it just felt like the right step. I’ve been running the rental department for just over a year and it’s been an interesting and exciting journey so far!
Are you a keen photographer yourself?
I enjoy photography but I’m by no means an expert. I do love to get out and shoot when I can – especially street photography and portraiture. It’s also surprising the amount you can shoot in your living room!
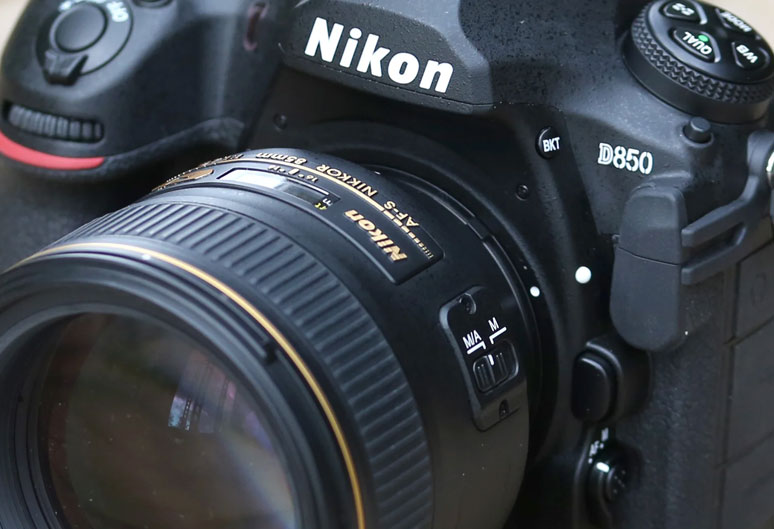
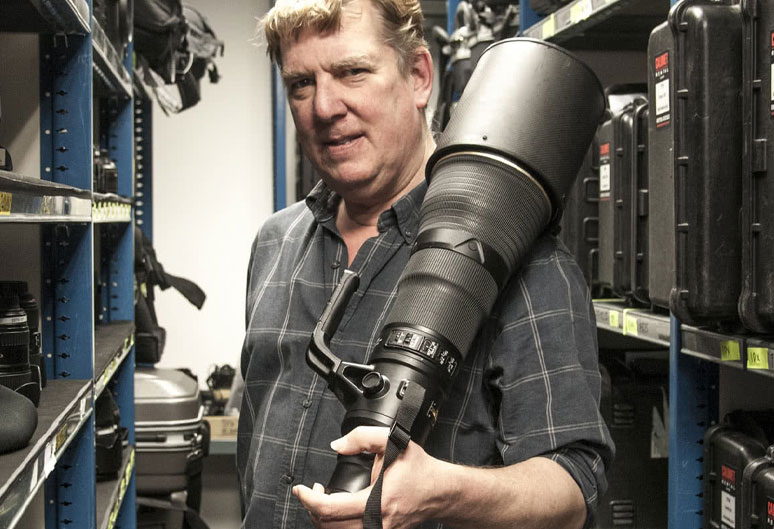
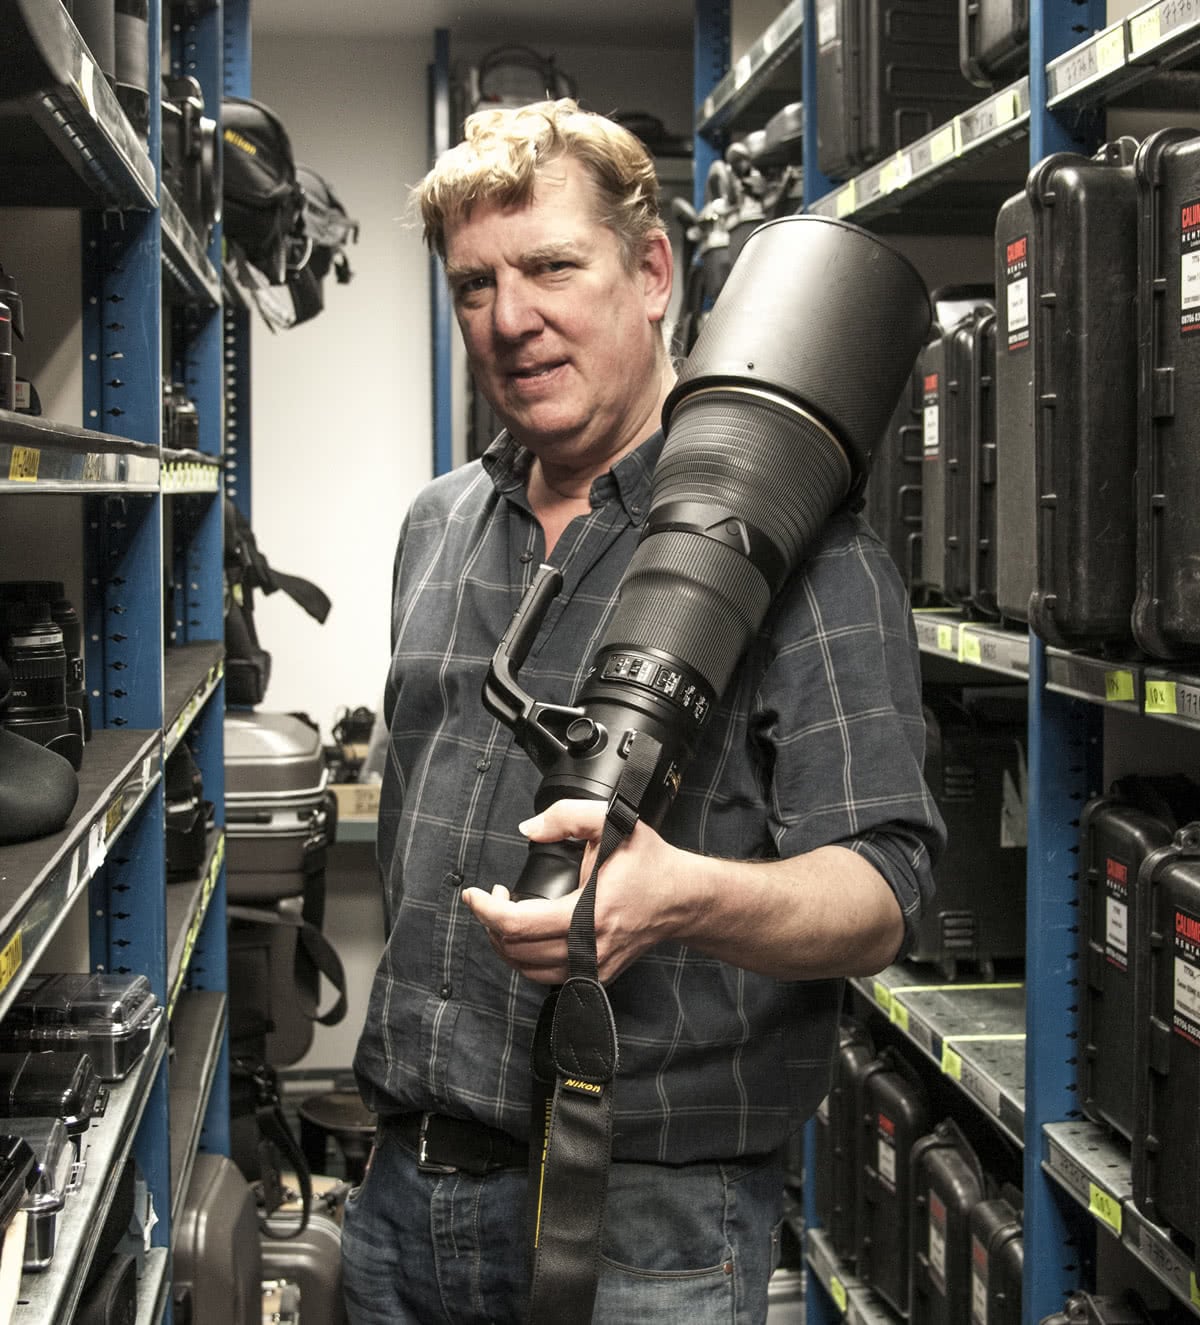 Wex Rental carry a wide range of lenses, including such beasts as the Nikkor 800mm ƒ/5.6G
You have quite a large staff, and from what I can see, they’re always busily running around. Can you tell us a little bit about how the rental department works?
We’re essentially responsible for handling the client bookings for rentals, checking equipment in and out on a daily basis and offering advice to customers who may not have shot professionally before. We also speak to a lot of assistants who are starting out and help them get their foot in the door.
I suppose we’re lucky in the fact that we have such an extensive range of equipment available and can pretty much cater to anyone looking for a camera, lighting or sound solution.
How are the roles split among the team?
There are three main areas in the department: front of house, support centre and the kit room and I’ll generally place team members where I think their skillset suits them them best. Saying that, the roles are fairly interchangeable, so I’ll rotate the team from time to time to make sure they’re getting the best exposure to new items and processes.
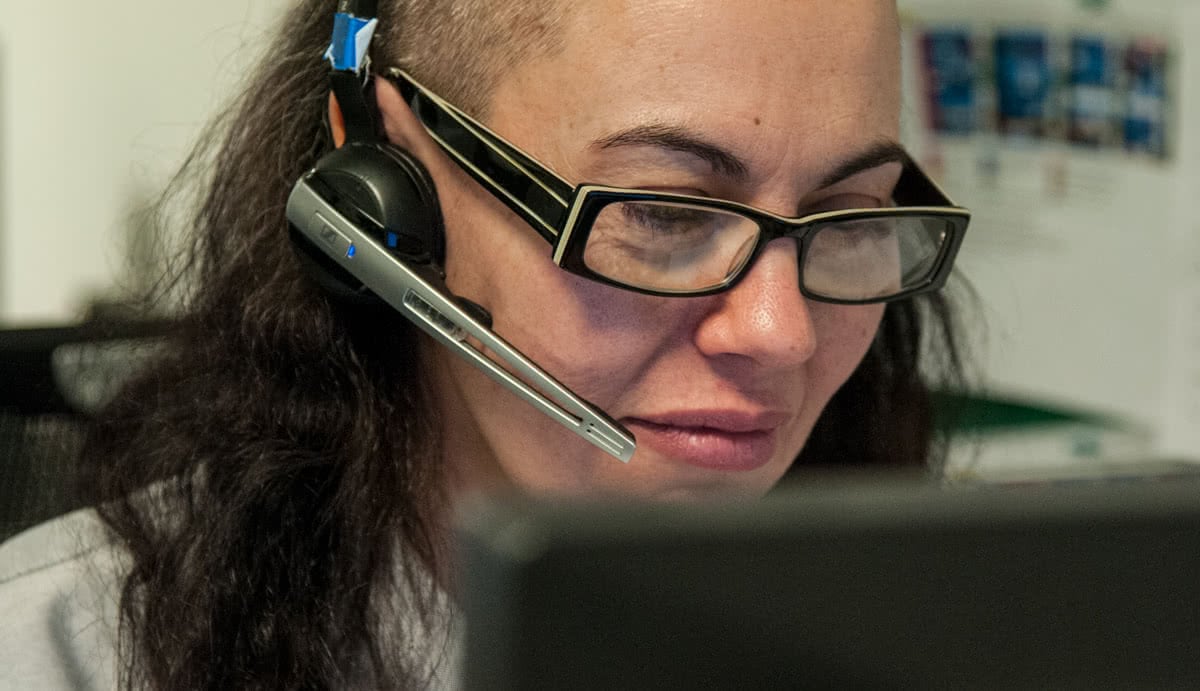 The support team handle hundreds of calls each week
How would you describe your typical day?
No one day is the same! We have hectic days where orders are coming through thick and fast and the support team are dealing with numerous calls and emails, while the technicians in the kit room are having to prioritise what needs to be checked over and readied first. On other days, some of the team could be out on location with Profoto or Sony, training on the latest kit. And sometimes I’m out visiting clients and studios, to understand exactly what their needs are and what more we can do to help.
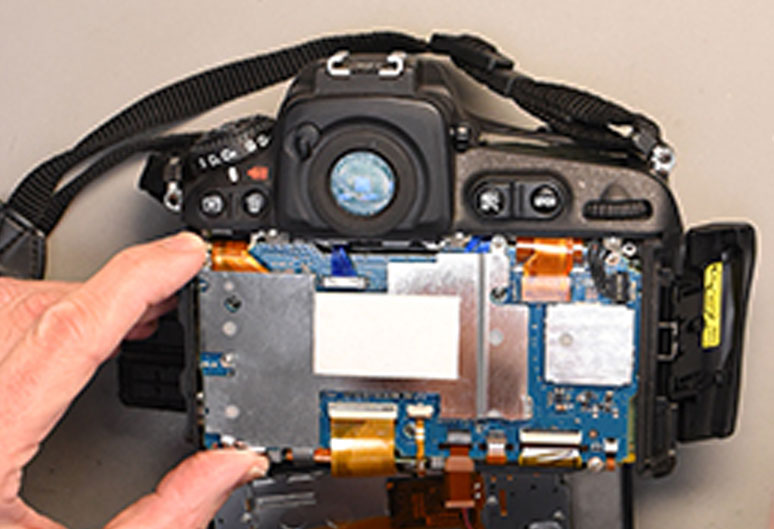
 Each rental job is thoroughly checked before it is sent out
What would you say is the most rewarding aspect of your job?
I would have to say it’s knowledge. The photographic industry is changing constantly and to stay ahead of the competition you have to keep up to date with the latest releases and technologies. For me it’s a matter of pride – being able to give clients the best advice, so it’s important to me that my skillset and knowledge is up-to-date.
For more information, visit the website at rental.wexphotovideo.com or speak to a rental advisor on 020 7383 5127