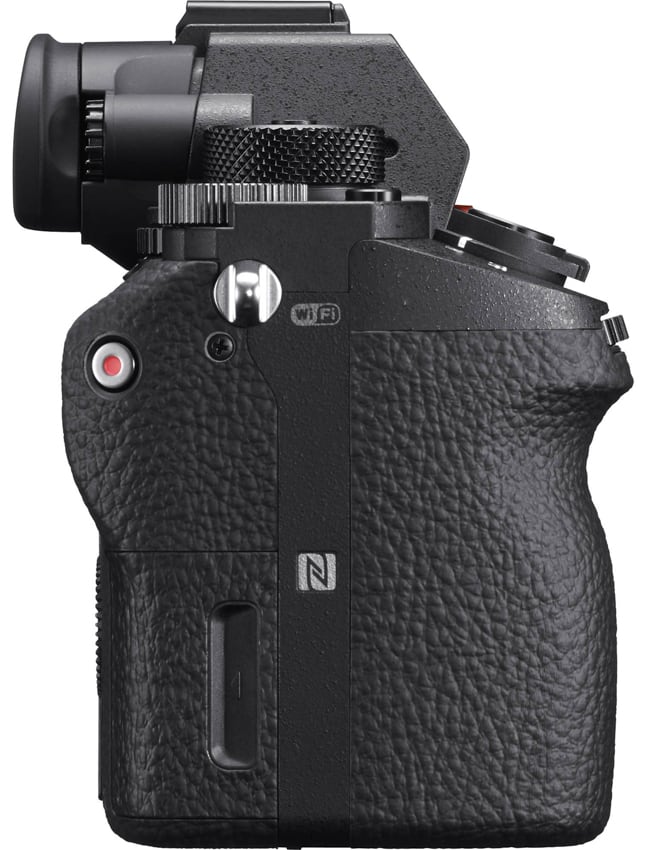
We take a closer look at the video functionality on the Sony A7S II
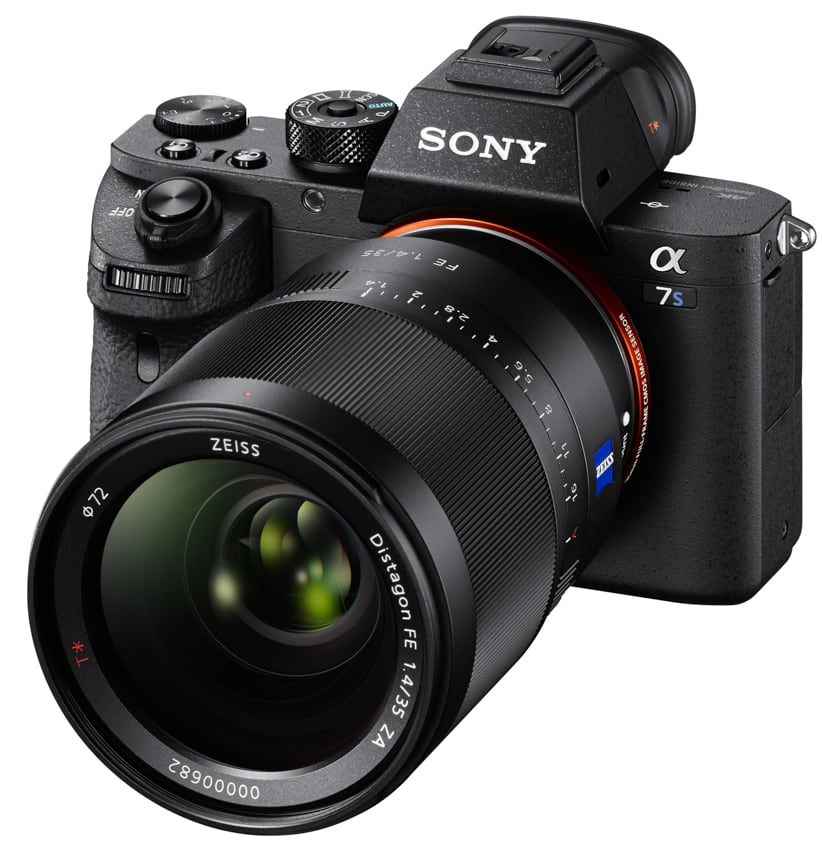
Sony’s A7S II has fast become one of the most attractive options for the videographer from all current mainstream camera systems. In this article, we take a closer look at the wealth of functionality it offers for video users.
First – what is it?
The α7S II is the successor to the α7S compact system camera announced in 2014. It currently joins the α7 II and the α7R II in Sony’s full-frame mirrorless lineup, the former being a relatively affordable all-round option with a 24MP sensor and the latter camera’s 42MP sensor making resolution its priority (hence the ‘R’).
The α7S II, meanwhile offers the same 12.2MP pixel count as the model it updates, although Sony is said to have revised the circuitry and processing to enable better noise control.
Video resolution
The camera records 4K footage in the 4K UHD format (3840×2160) in contrast to the DCI 4K resolution of 4096×2160. The fact that the camera records 4K video footage is not in itself that special. After all, aside from pro-grade video cameras, this is now being offered by many other interchangeable-lens models, as well as compacts, GoPro action cameras and a growing number of smartphones. What sets the Sony’s α7S II apart from more mainstream models are two things: the way this is captured and the tools the videographer has at their disposal at every stage of the shoot.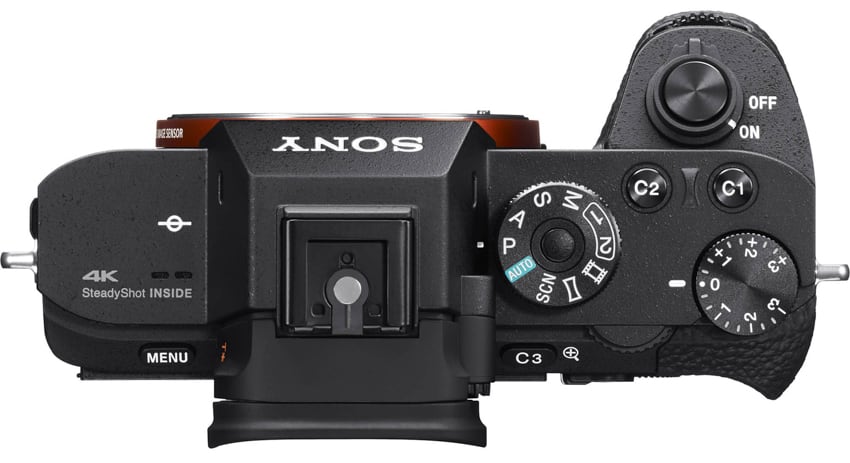 Sony states that the camera records video with full-pixel readout to improve quality and suppress aliasing artefacts such as moire, and this is the case whether you’re recording video in 4K or Full HD. This process means the sensor takes information from every pixel before the image processor downsamples it to 4K (or HD) resolution. This is in contrast to binning, where the values of multiple pixels are combined into one at the sensor level to boost the signal-to-noise ratio, and line skipping, where certain rows or columns are ignored.
Sensitivity
The ‘S’ in α7S II stands for sensitivity, and it’s this that made most of the headlines upon the camera’s announcement. When capturing videos, the camera’s sensitivity stretches over a respectable range of ISO 100-102,400, although this can be boosted to an option equivalent to ISO 409,600 when required.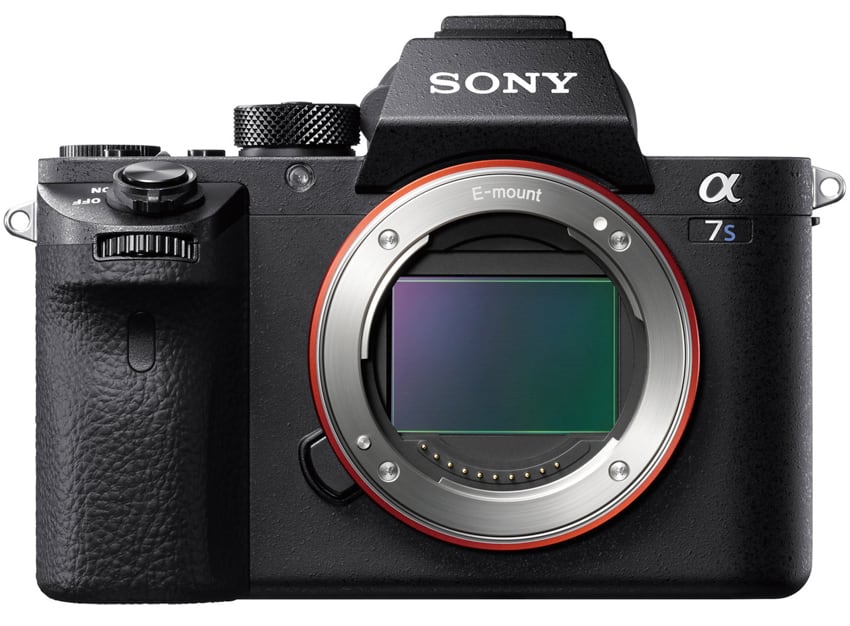
Codecs
The AVCHD codec that Sony has previously used for video is maintained on the α7S II, although this is joined by the more recent XAVC S codec. Based on the MPEG-4 AVC/H.264 format, the XAVC S codec is used to record 4K footage at 25fps, at either 60Mbps or a higher-quality 100Mbps, and stores this as an MP4 file.
The camera can also record Full HD footage where the higher resolution of 4K is not required, at frame rates between 25fps (50Mbps) to 120fps (up 100Mbps) for slow-motion-video recording, using the XAVC S codec. When shooting at the 120fps setting (or 100fps in PAL), the frame is cropped by a factor of 2.2x.
Recording internal and externally
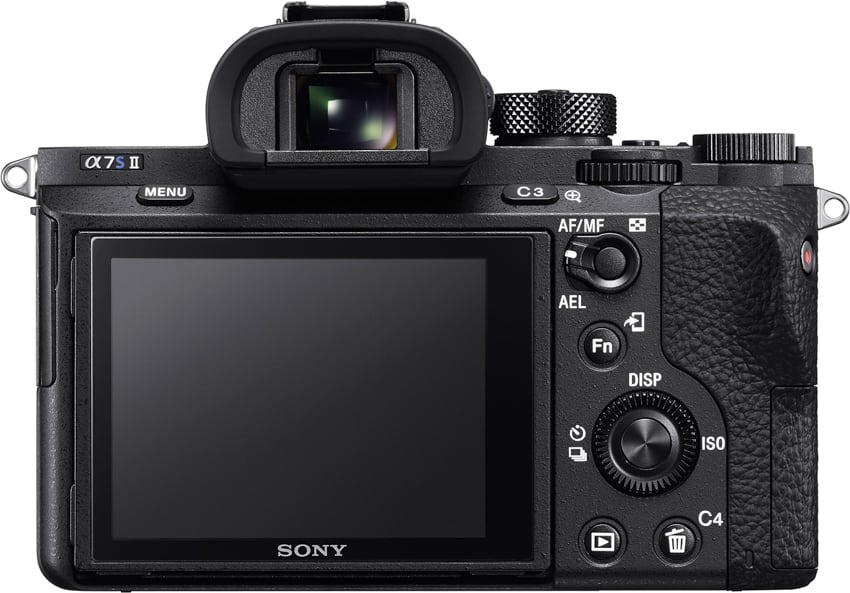
Unlike the previous α7S, which required an external recorder to actually record 4K footage, the α7S II follows the α7R II in being able to do this internally. You can, however, use the Dual Video REC option to output clean (uncompressed) 4K video through the HDMI-out to an external recorder, while recording 4K footage to a memory card inside the camera. You can also use this to record XAVC-S and MP4 or AVCHD and MP4 video to the memory card.
There is another benefit to recording through the HDMI output through to an external recorder, namely 4:2:2 chroma subsampling. When recording 4K or Full HD video internally, chroma subsampling happens at 4:2:0. However, one caveat is that, when outputting 4K footage to a recorder, the rear display goes dark.
You can record video continuously for around 29 minutes at a time, although this varies with temperature, with higher temperature shortening this. Should the sensor get too hot while recording video, a warning will appear on the display to indicate that it should be stopped.
Gamma and Picture Profiles
The α7S offered the S-Log2 option for recording video, this is joined by the S-Gamut3.Cine/S-Log-3 and S-Gamut3/S-Log3 alternatives on the α7S II.
Sony states that these options offer better tonal reproduction in shadows to mid greys, with 14EV stops of dynamic range. This latitude potentially makes it better when it comes to editing footage.
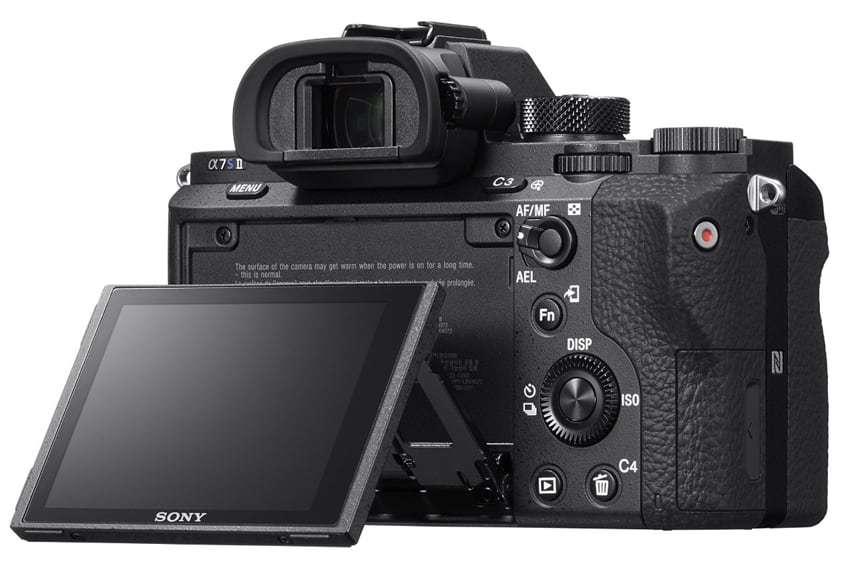 Ordinarily, this footage would appear flat and lacking in contrast on the rear display, making it hard to accurately assess focus and exposure. This is where the Gamma Display Assist option steps in; this uses the Rec.709 standard to provide the user with a more natural rendition of recorded footage when the camera is set to either the S-Log2 and S-Log3 settings.
Sony has also revised the previously seen Zebra function to make it easier to gauge correct exposure, whether or not you’re shooting in one of the Log settings.
Sony’s Picture Profiles allow you to specify how footage is recorded with respect to the colour, gradation and so on. This gives you the control to either get the footage right in camera for immediate use or to create the most appropriate file for grading.
Audio
As we’d expect from a camera targeted towards professional video use, the α7S II has both built-in stereo microphones and the option of attaching an external one through a 3.5mm port at its side.
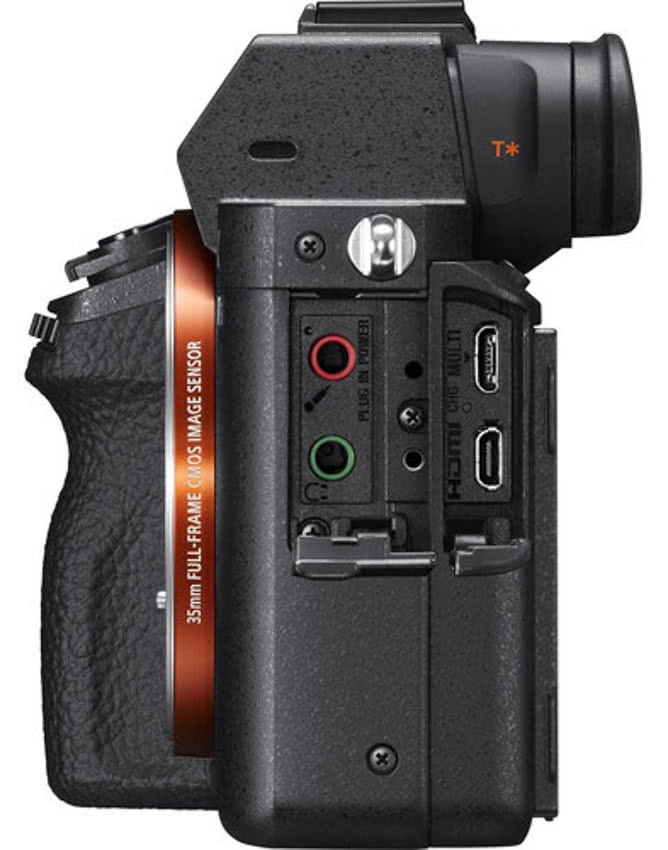
There’s also a port for attaching headphones so that you can monitor audio while recording. A separate control allows you to choose whether to have audio levels displayed on the monitor.
You can disable audio recording where not required and there is also the option of a wind noise filter, which is effective with the in-built microphones (ie not external ones).
Other advantages
One of the other major advantages of the α7S II over other models is its 5-axis image stabilisation system, which works over pitch, yaw and roll, as well as shifting in vertical and horizontal directions. The fact that this is located at the sensor gives it the benefit of being compatible with all mounted lenses, which is just as well as the camera can accept a range of lenses from other manufacturers via adapters.
Focus peaking is also on hand for those wanting to use manual focus. This gives you the option to change colour between red, yellow and white (which you may want to change depending on what it is you’re recording), as well as the peaking level, which can be set to high, mid and low settings.
The camera also offers an Auto Slow Shutter option. When this is enabled, shutter speed is reduced when the camera deems necessary in order to better balance the exposure during video recording. Time coding support is also provided should you wish to use it.
