Dust spots on photos can lead to hours of extra editing. Sometimes there are motes of dust, oil spots, even fingerprints on a camera sensor. But how can you know before it’s too late?
Dust resting on your Mirrorless or DSLR cameras imaging sensor can show up as black spots or soft grey blobs on your images. Most frequently these UFOs (unidentified foreign objects) on the sensor show up in images with clear skies or plain backdrops when your lens is stopped down to f/8 and lower.
You can do a blue sky test but Blue skies are not always available in the UK. Luckily you can check your sensor quickly at home. Before any important assignment, project, holiday or wedding we recommend checking your sensor to see if it needs a clean. This could save you hours in editing afterwards.
Our technicians clean camera check and clean sensors every day. We asked them the best way to check for dust on an imaging sensor.
Sensor Check Kit List
- Your Camera
- A 50mm f1.4 lens (ideally but any standard angle lens will do)
- Tracing paper or diffusion gel
- BlueTak
- a light source or window (do not point your camera at the sun, it can damage cameras and lenses)
- Image editing software eg. Photoshop Elements
Step 1: Make a blank light source
If you have a lightbox for art, viewing slides or negatives then you are ahead of the game, you can use the lightbox.
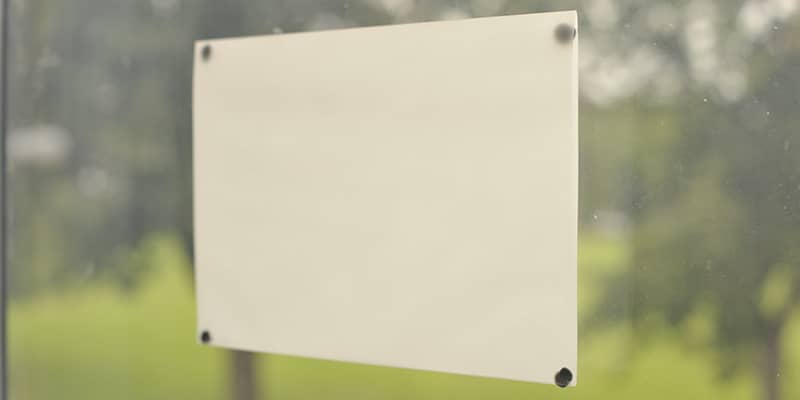
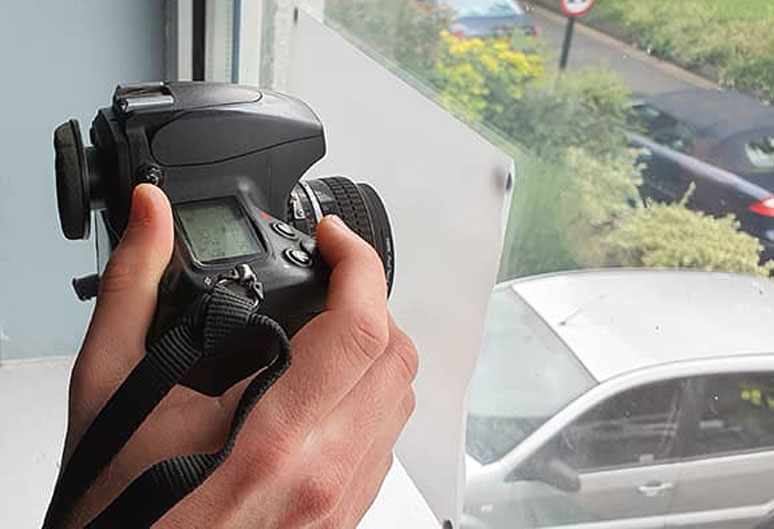
If you don’t, you can make one easily: Just stick some tracing paper, or lighting diffusion gel to a window like below.
Step 2: Camera Settings
We take a picture with the lens right up against our blank light source using these settings:
Lens: 50mm f1.4 or equivalent
ISO: 200
Image Quality: Jpeg
Focus Mode: Manual Focus / MF
Mode: Aperture Priority
Aperture: F/22
Exposure compensation: 0
Step 3: Take a picture
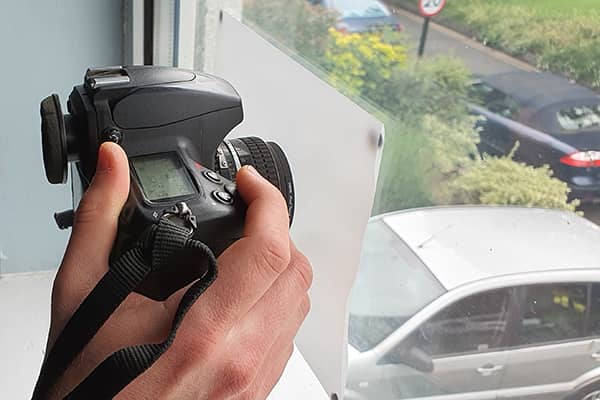
Put the lens flat against the lightbox or tracing paper, keep the camera pressed against the paper for the while exposure which might be ½ second on a gloomy day. We are making a shilouette of all the dust on our sensor. Since all the dust that affects your images is behind the lens it does not matter how your focus is set.
Step 4: Review your image
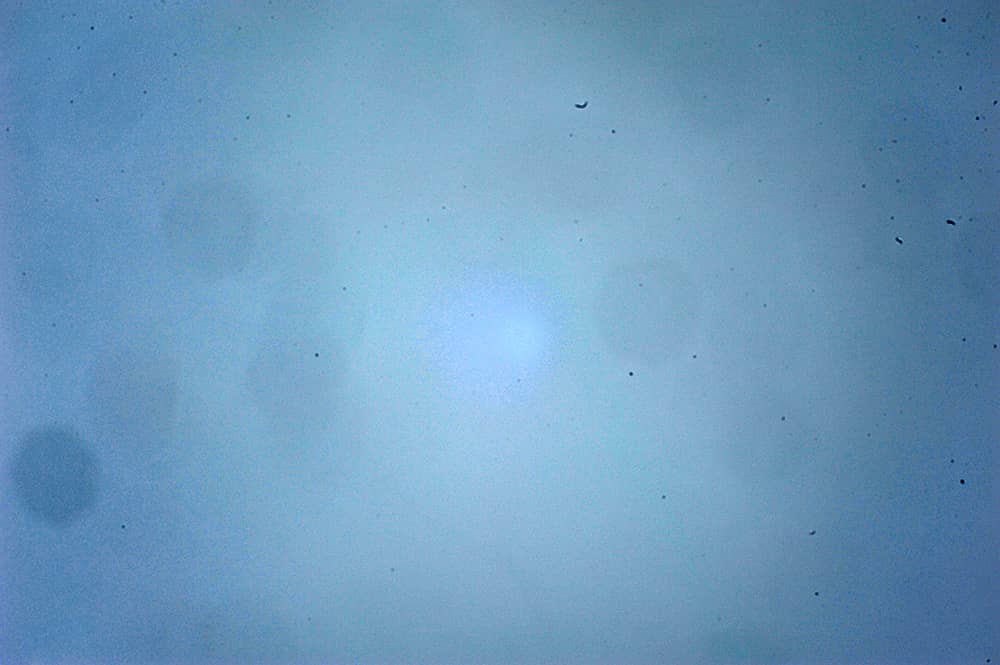
Download your image to your computer and open your photo in an image editing software, we’re using photoshop. At first your sensor image should look like the one below. To start with the image should look grey and flat, often there is not much dust visible apart from the most serious marks. In the next step much more dust will be revealed.

Step 5: Image Adjustments – levels
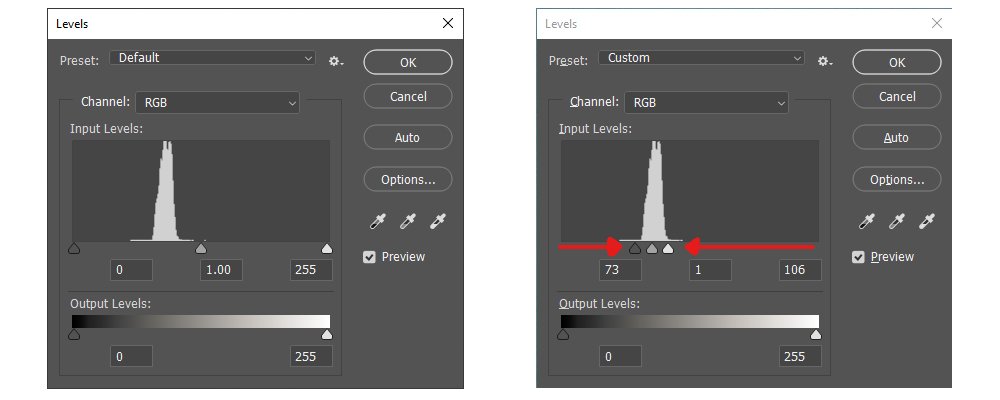
Open up the histogram or levels adjustment tool (In Photoshop go to Image>Adjustments>Levels or on windows Ctrl + L, on a mac Command + L)
All the image information is in that central spike so bring the edge sliders (black point and white point) in to either side of the histogram to increase the contrast and highlight the dust.
Any dust on your sensor should appear clearly as visible black marks.
What to do next
Once you have identified whether or not there are marks on your sensor you will need to decide what to do next, should you clean the sensor yourself? Here are some options
Professional Sensor Cleaning
We can clean your imaging sensor in our London workshop or at our Leeds and Manchester service counters while you wait Monday to Friday. This gives you a really thorough clean not just of the sensor but of the whole camera and mirror box to reduce the risk of dust falling back onto the sensor after the clean.
Find out more about our sensor cleaning service.
DIY Sensor Cleaning
Not for the faint of heart but also not impossible. If you identify there is dust on your images in the middle of a trip then there might be no service-centre nearby. If that’s the case we collected some tips for DIY sensor cleaning in an earlier tips and tricks sensor cleaning article.
Shoot at a wider aperture
We tested the sensor above at f/22 which creates a crisp silhouette of all the dust, oil spots, etc, on the imaging sensor. If we did that test with the lens at f/2.8 much less of the dust would show up. You could test your sensor at various apertures and decide to continue shooting if they are acceptable up to say f/5.6. Also if you are shooting subjects with busy backgrounds many spots will not show up clearly enough to notice.
Ultimately you decide what is best for you and what action will suit your next set of photographs.

Thanks for the tip! I will try it right now.