Lens cleaning is not a particularly difficult task, and it’s one we’ve all done on a regular basis.
Of course, if you’ve been following our Tips & Tricks series, you’ll have seen our recent post about keeping a UV filter on the front of your lens (where possible), and if you followed our advice then you’ll be minimising any potential damage to the front element anyway!
Either way, when you’re cleaning a lens, with or without protection on the front, certain precautions should be taken to avoid any accidental scratches.
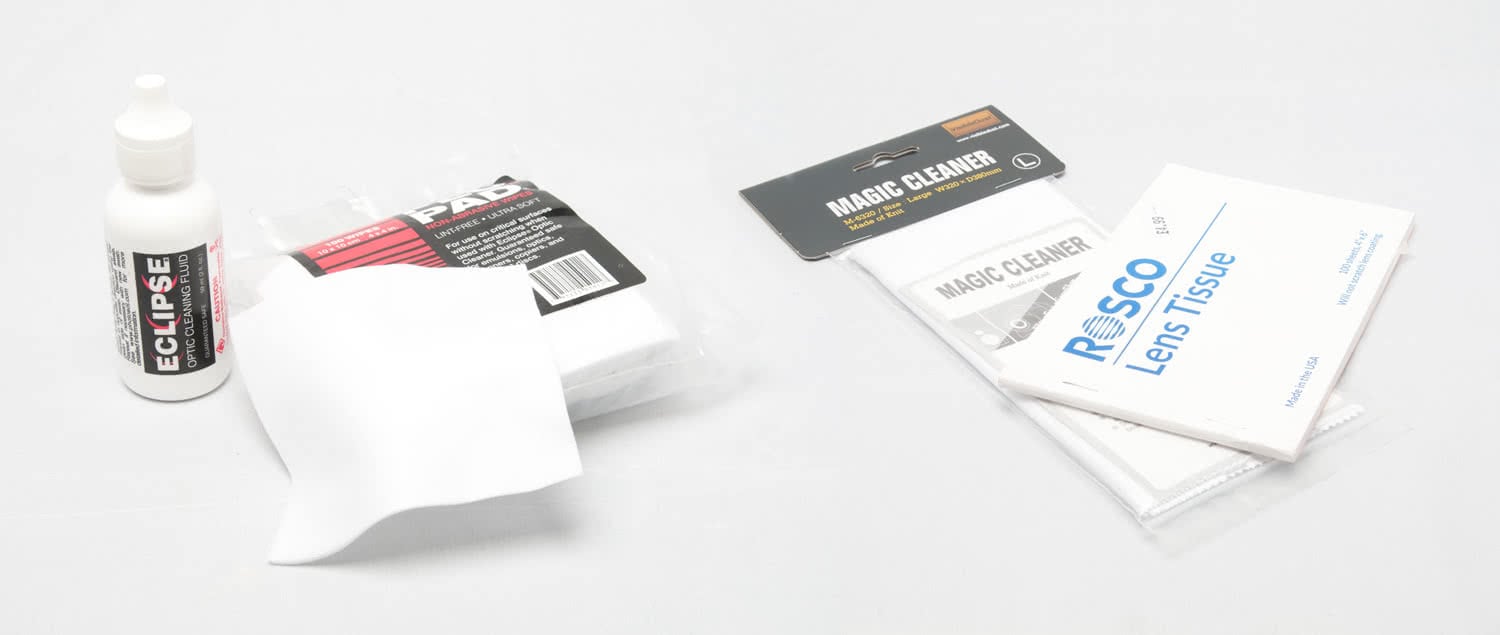
 There is a wealth of choice when it comes to lens cleaning materials. Our workshop technicians swear by disposable tissues rather than microfibre cloths, but if you keep them clean and wash them regularly, you shouldn’t have any issues
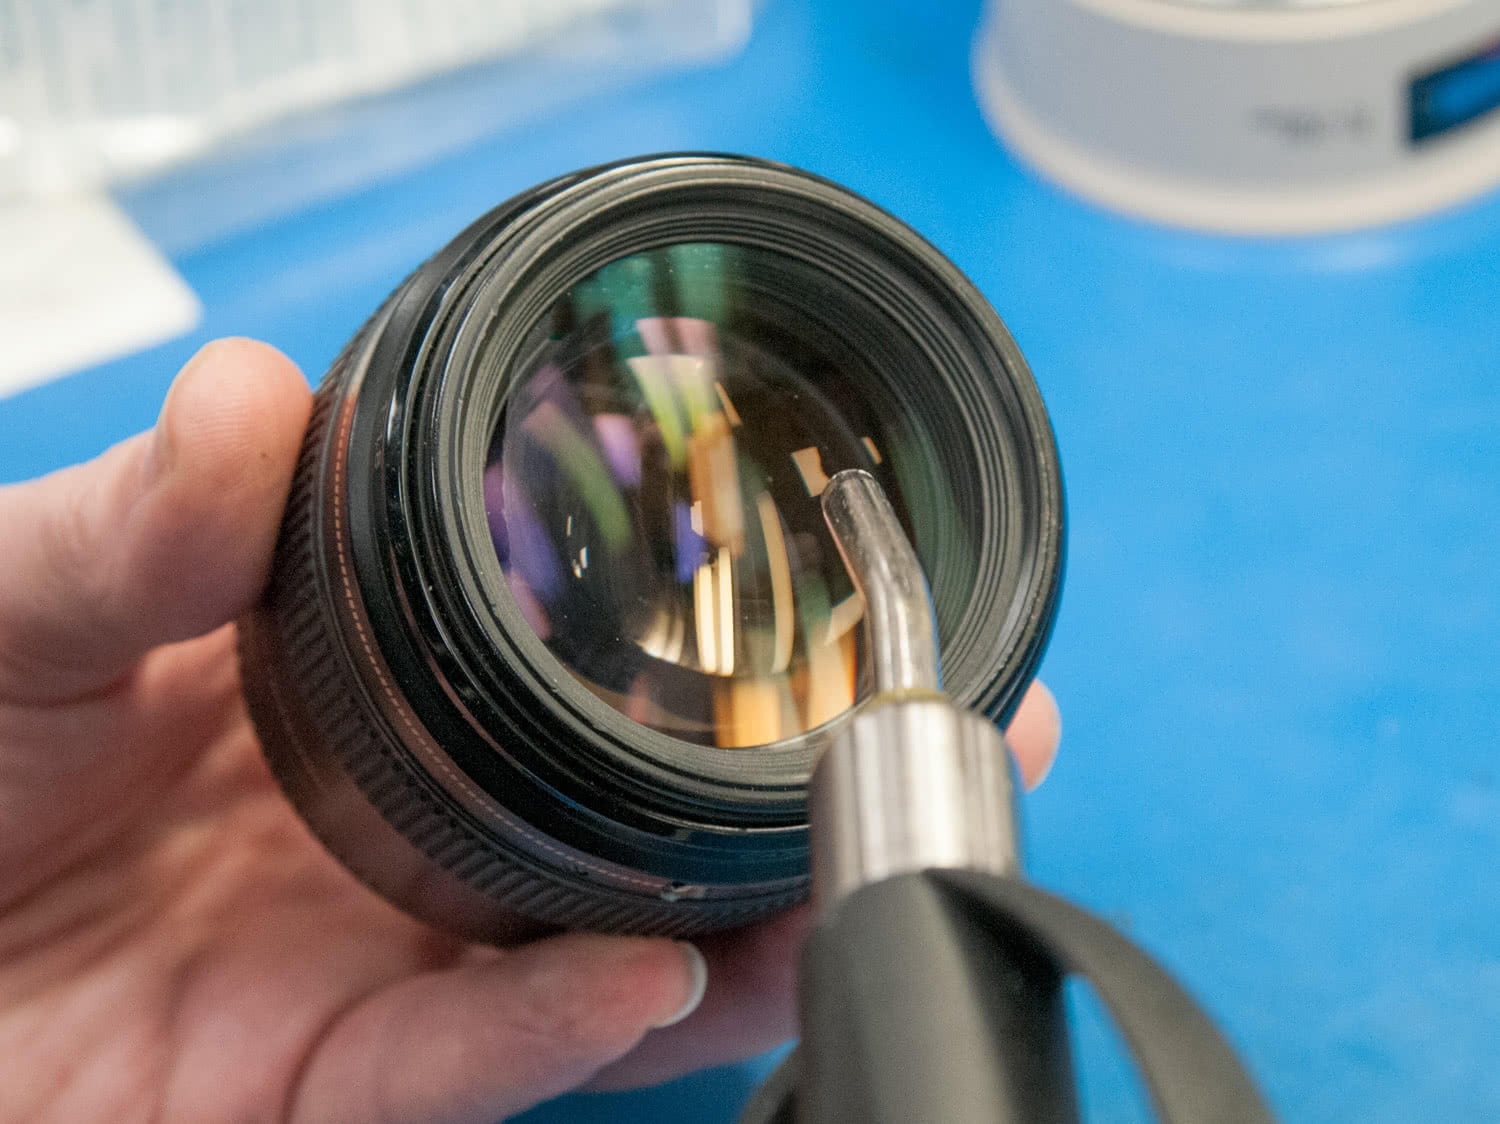
The most important thing to look out for is that there are no pieces of grit or sand on the front of the lens. If there are any, and you start to clean the lens, you’ll be grinding these into the glass and simply asking for scratches. Use a blower or hurricane brush – or if you’re very careful, compressed air – to remove these before you start.

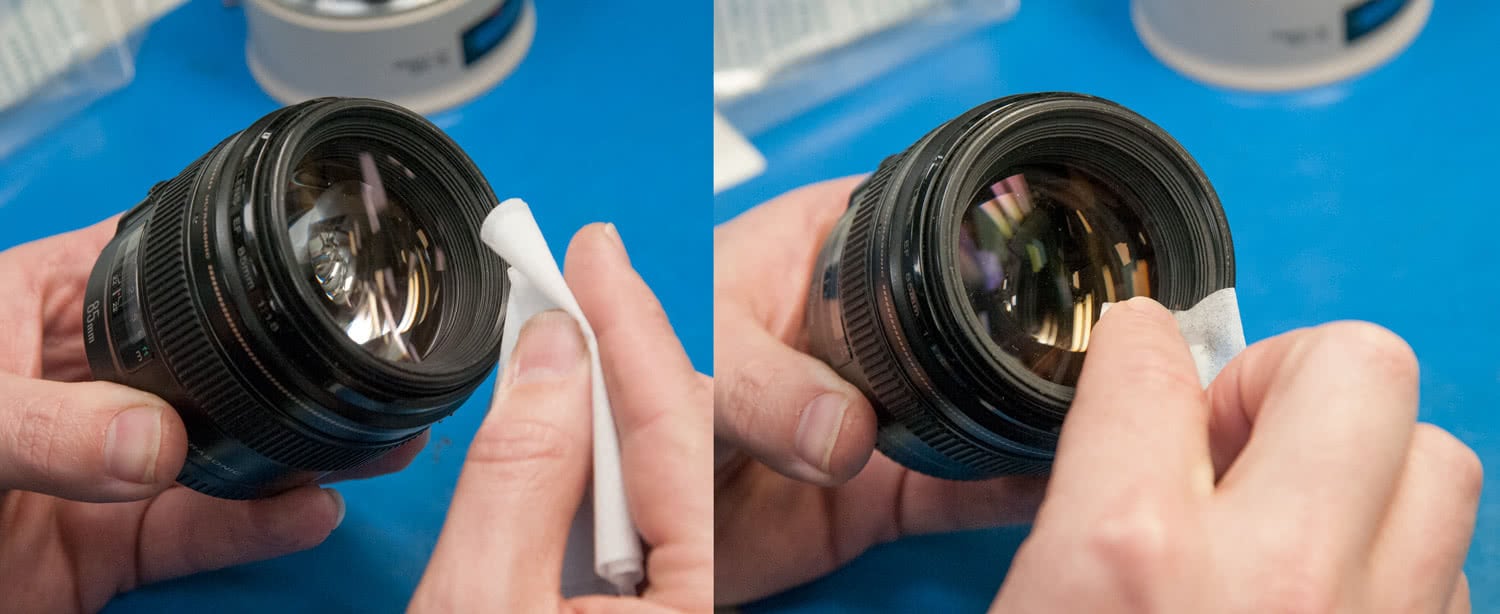
The next step is to apply a few drops of lens cleaning fluid to the surface. There are a multitude of these liquids available, and any reputable brand will do. Using a soft lens tissue, carefully wipe the solution around the lens in a circular motion. many fluids have a high alcohol content and will evaporate almost immediately. Don’t worry if you see any smearing at this stage; the fluid is designed to dissolve any grease and once this is removed, you’ll often see light wipe marks on the surface.

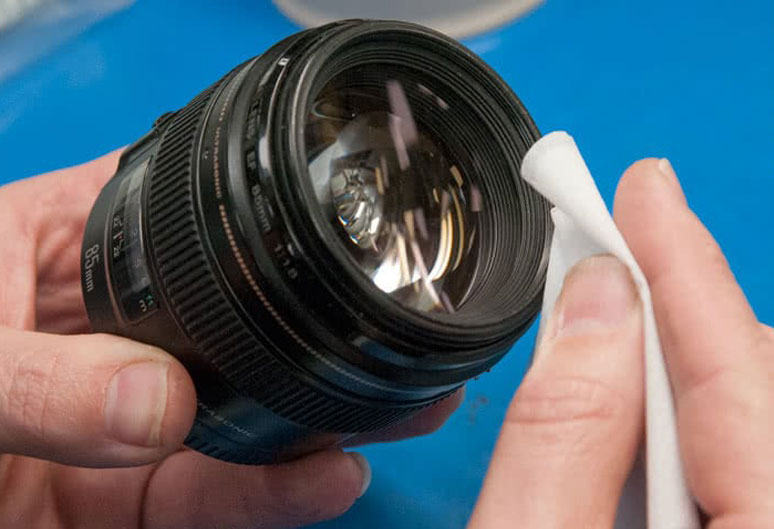
The final stage is to polish the lens. Take a new lens tissue and lightly breathe on the lens surface. Wipe in a circular motion again and you should end up with a smear free surface. If any small pieces of fibre have come off the tissues, these can be removed with the blower.
Pretty straightforward really – just be careful to remove any grit before you start!

